Customerlabs CDP Documentation
CustomerLabs + Intercom Integration
Intercom provides messaging platform to engage with customers. Live chat, behavioral email and automation as its core businesses can help companies acquire, engage and support customers. CustomerLabs unifies all your customer data with Intercom including users, traits and behavior.
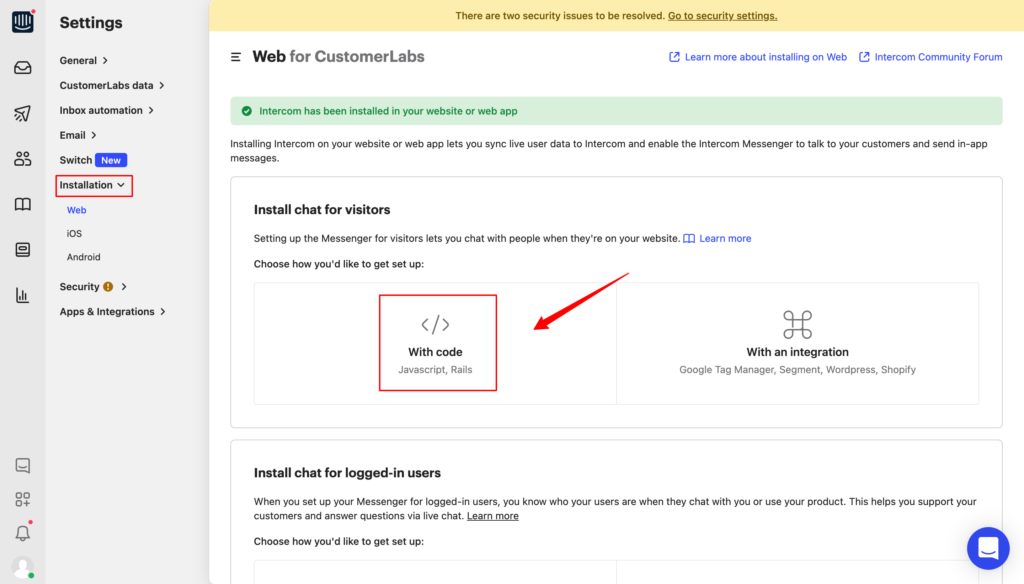
1. Log-in to your Intercom account
2. Go to Settings → Installation → Web
3. Click With code box.

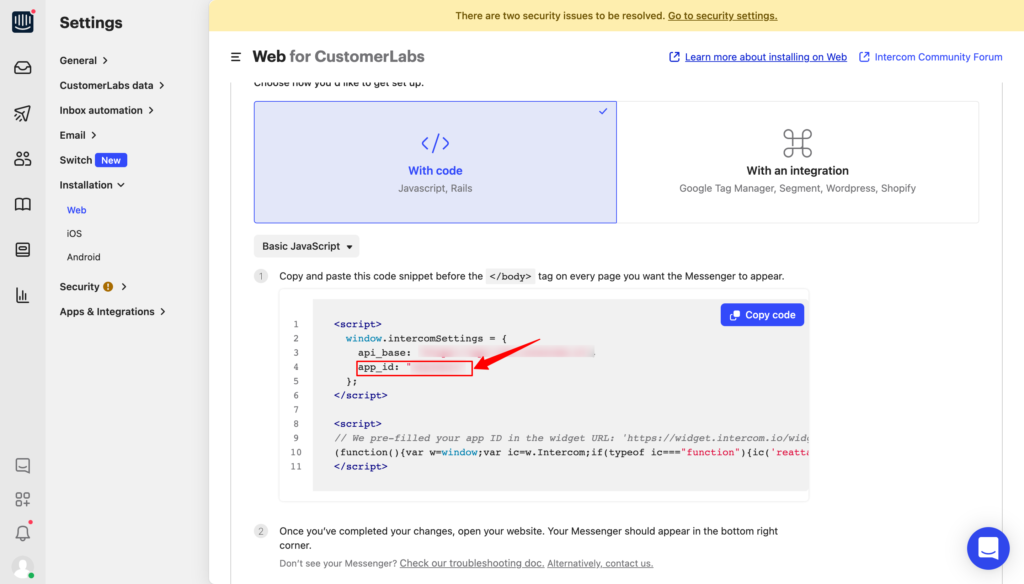
4. You can see the code in which you will find the App id. Copy the App Id.

5. Login to your CustomerLabs account
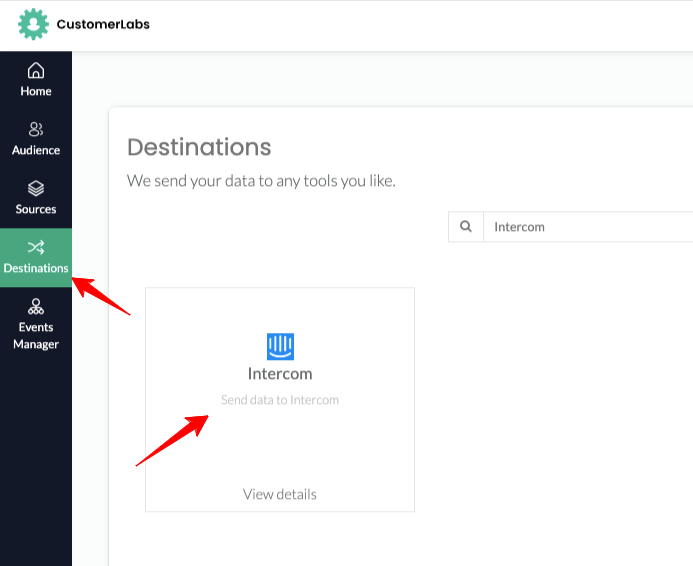
6. Navigate to the Destinations screen from the home page.

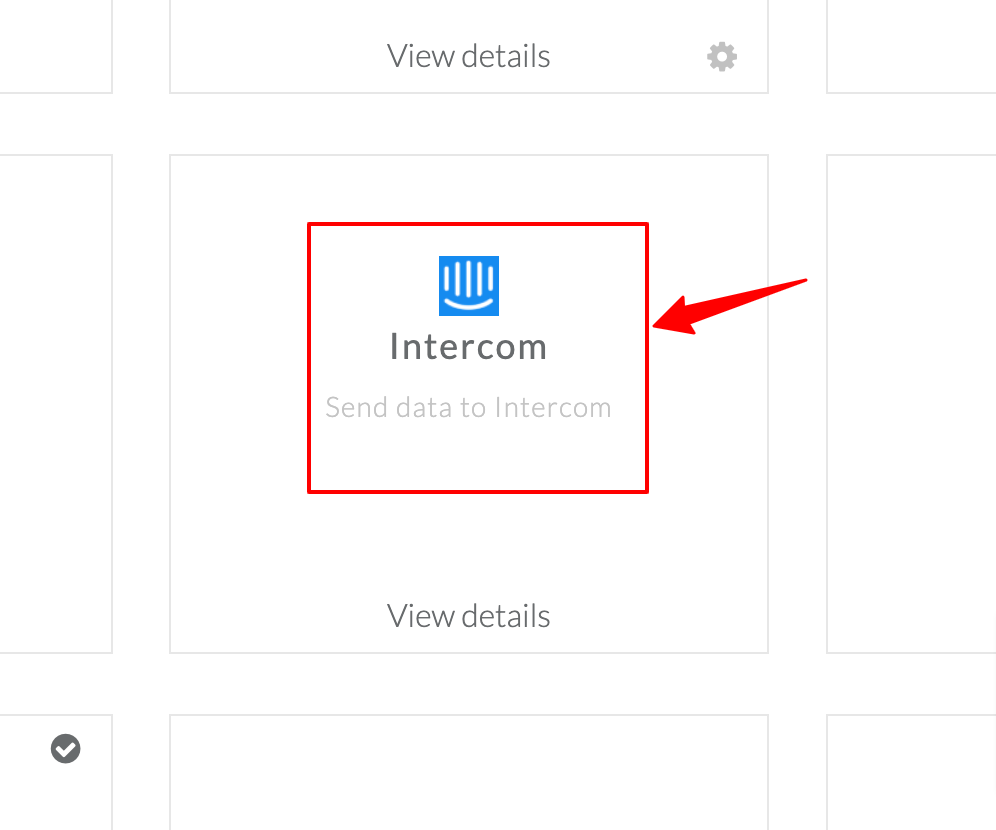
7. Search and select Intercom from the list.

8. You will see a pop up screen, click on Configuration settings
9. Now paste the App ID (Intercom) below.
10. Click on Save changes, once you are done.
11. Return back to Intercom Customization screen and click on setup Action workflow.
12. The list of events that you had previously configured with No-Code tracker appears with both server-side and client-side callback functions. Using callback functions you can modify and send data to integrations (eg: Intercom).
13. The server-side callback function lets you modify data which you would like to send from your server to Intercom. Whereas with the client-side callback functions, we collect users’ event data from their browser (using Action Recorder) and you are free to modify data before sending it to the intercom.
14. Switch between On and Off button to set the tracking paths to be triggered or not.
15. Click on Save changes once you are done. The next step is to set trigger path.
16. Return back to Intercom Customization screen and click on setup trigger path option.
17. Enter the URL, switch between Fire or Don’t Fire button to set a path to be triggered or not.
18. Once you set a firing rule as the path to be triggered, click on Save changes.
19. You have now integrated Intercom with your CustomerLabs account.


