Customerlabs CDP Documentation
With CustomerLabs+Maropost Integration, you can send the user behavioral data tracked in CustomerLabs as an audience list to Maropost to utilize for message personalization with dynamic content and smart scheduling.
Steps to connect Maropost with CustomerLabs
Basic settings
1. Log in to your CustomerLabs account
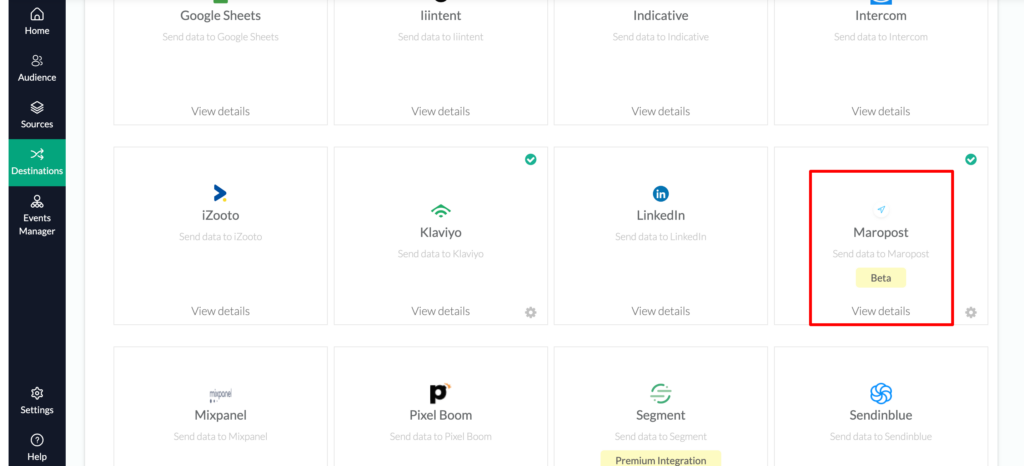
2. Navigate to Destinations → Maropost → Enable
3. Log in to your Maropost account that you want to integrate with CustomerLabs
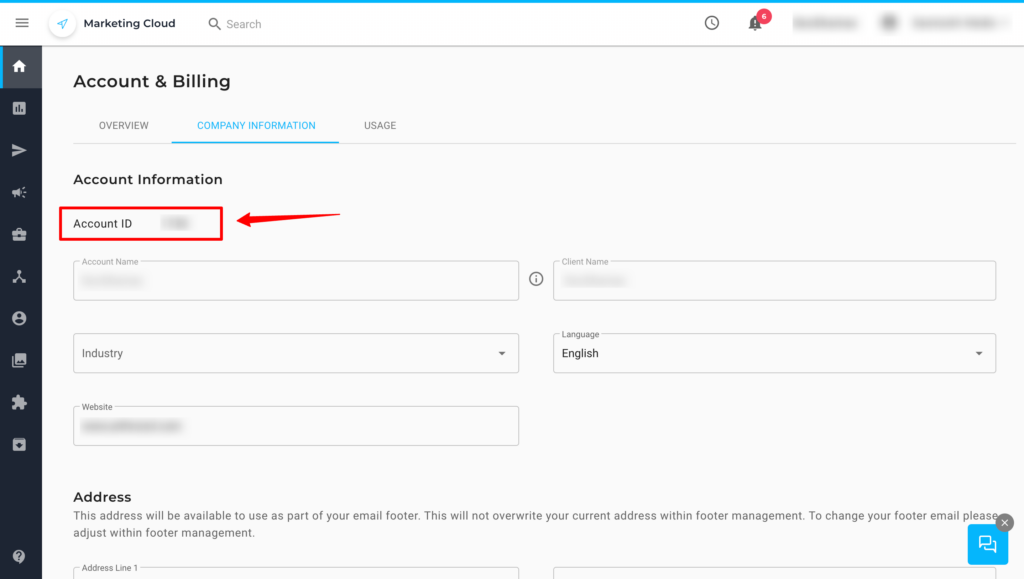
4. Navigate to Settings → Account & Billing → Company Information
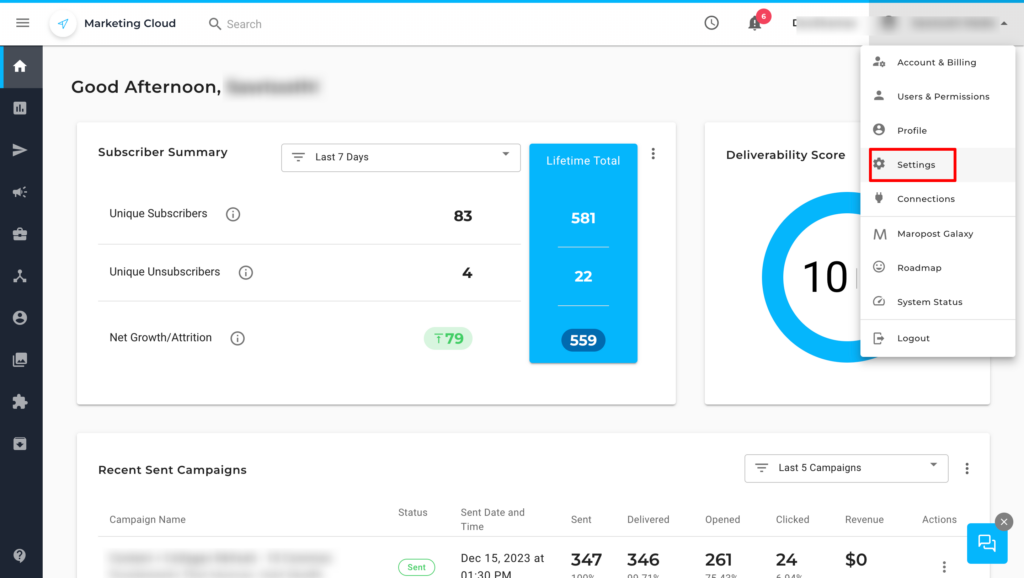
5. Copy the Account ID
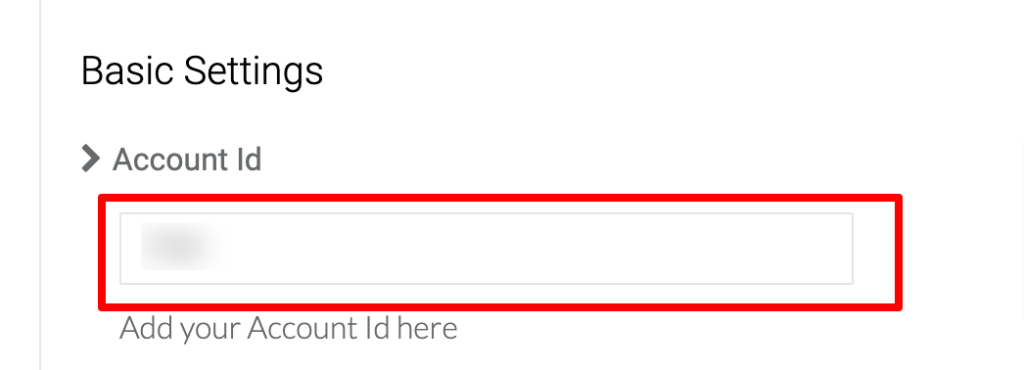
6. Go to CustomerLabs → Maropost → Click Configuration Settings → Paste the Account ID copied from your Maropost account in the box as shown in the image below → Save changes

7. Go back to your Maropost Account → Settings → API Keys → Add key


8. While adding the key, make sure you have given the permissions for “Contacts” & “FTP” → Save the key
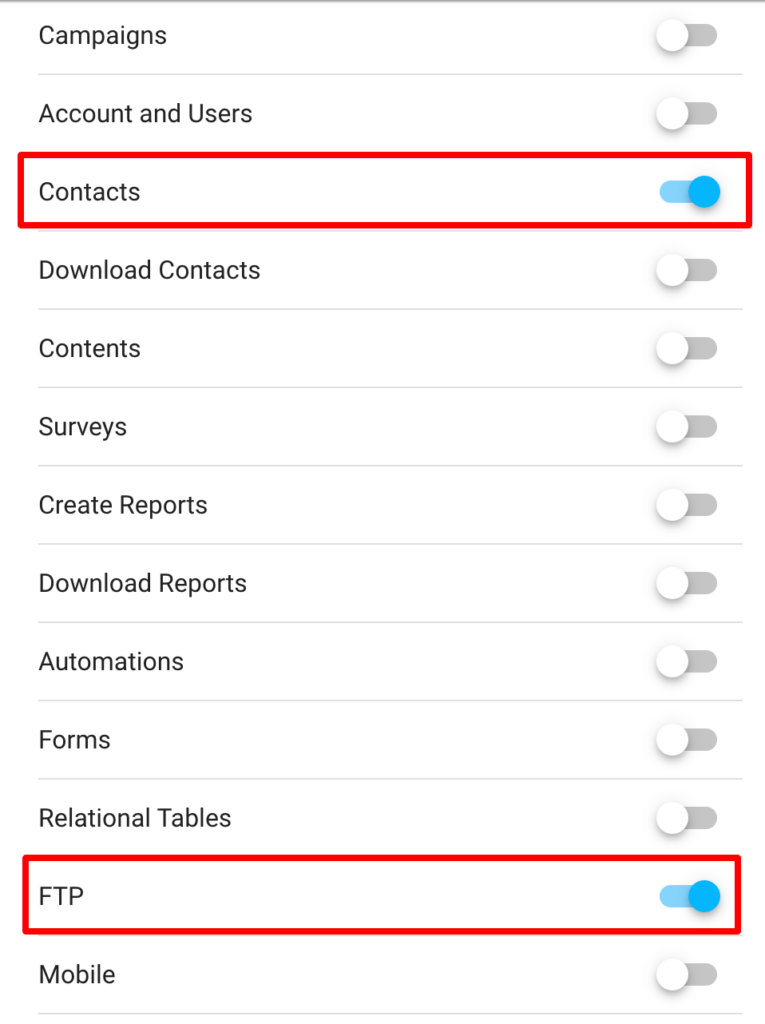
9. After saving, copy the “Key URL” and go to CustomerLabs account → Destinations → Maropost → Configuration settings

10. Paste the Key URL in the box below “Account token” as shown in the image → Save changes.

Now, the basic authentication is done.
Advanced settings
Advanced settings (SFTP access is required) must be updated to sync the audience list to Maropost seamlessly.
1. Go to your Maropost account → Settings → SFTP access

2. Copy the Host, Username, Password and Port
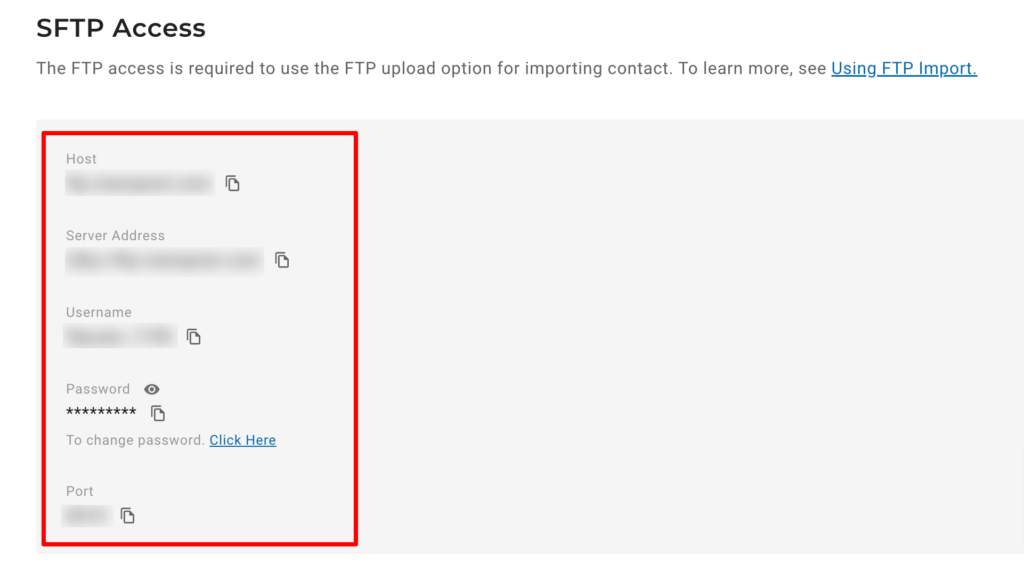
3. Go to CustomerLabs → Destinations → Maropost → Advanced Settings
4. Paste the copied Host, Username, Password and Port in the respective boxes as shown below → Save Changes
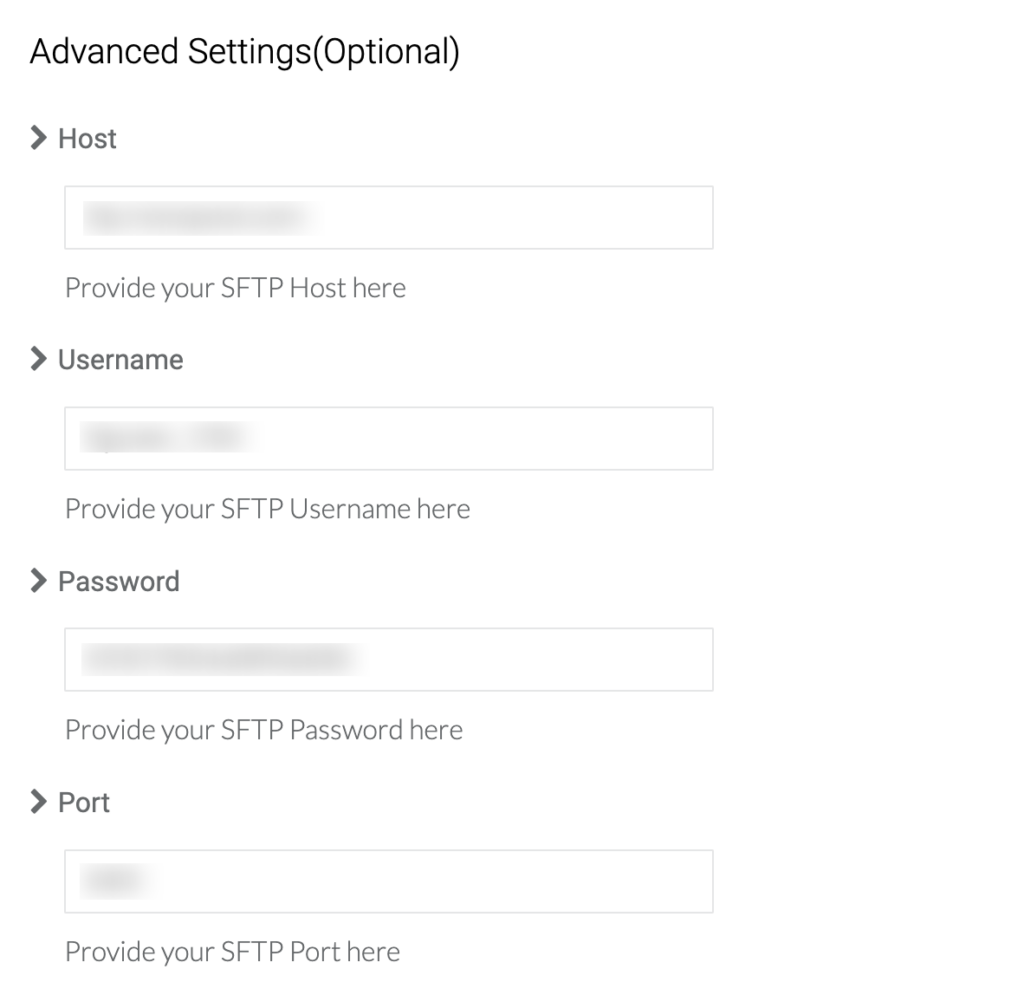
The configuration is done. You have now integrated Maropost with CustomerLabs.
Now, refer to this document to sync the audience list with Maropost.


