Customerlabs CDP Documentation
Source – Facebook
(A ‘Source’ platform is one where data can be brought in from any platform into CustomerLabs CDP)
Facebook is a popular social networking website that lets users upload pictures and videos of their business. This can be a powerful way to communicate with customers and potential customers, allowing them to see the product or service without having to visit the premises.
The CustomerLabs CDP + Facebook integration helps marketers bring data from lead ads on Facebook, unify them with existing customer information across the martech stack to create 360° customer profiles and sync that data to any destination platform to trigger relevant workflows without having to depend on their developers.
Getting Started
Codelessly connect your Facebook account with CustomerLabs CDP by following the steps below.
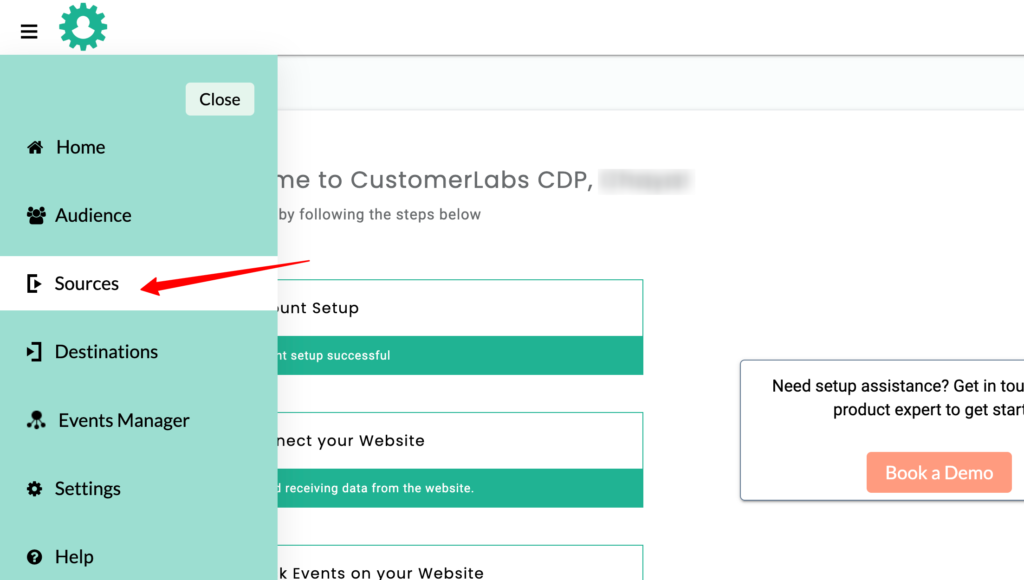
- Login to CustomerLabs CDP and navigate to Sources
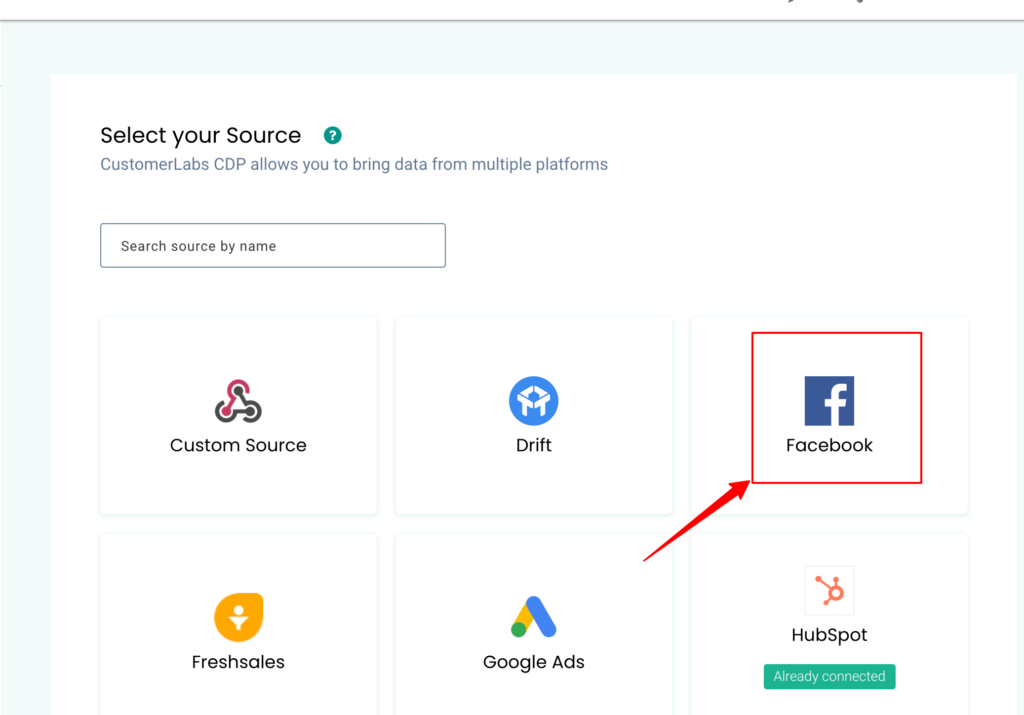
- Select Facebook from the list of Sources
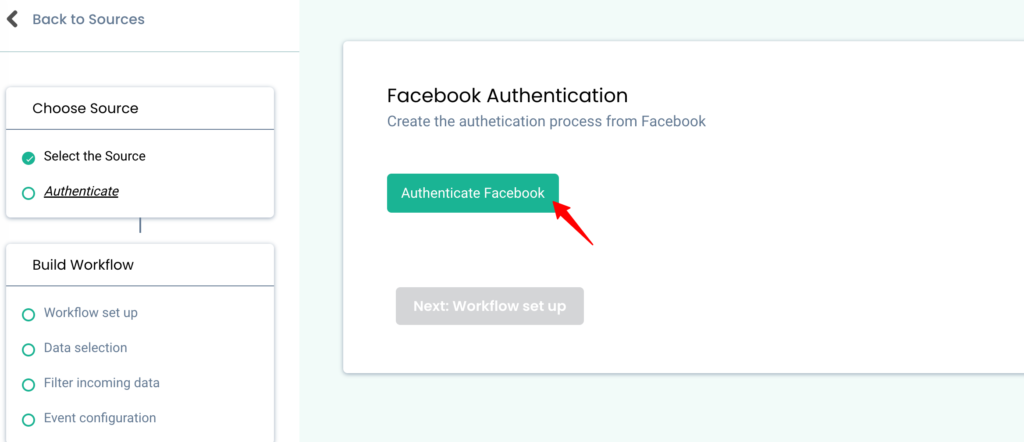
- You will be taken to the authentication screen. Click Authenticate Facebook
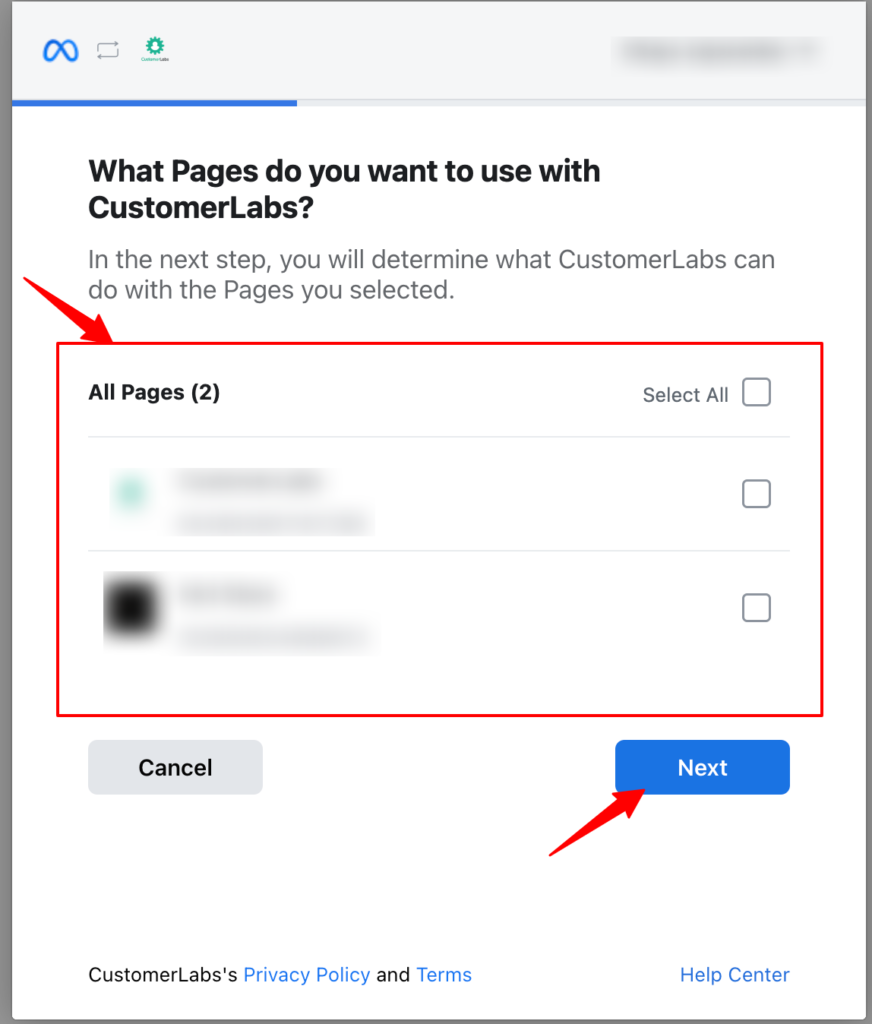
- You will be redirected to Facebook. Choose the pages that you would want to link to your CustomerLabs account.
- Click Next to finish the authorization.
- Now click Done to continue with the authentication process.
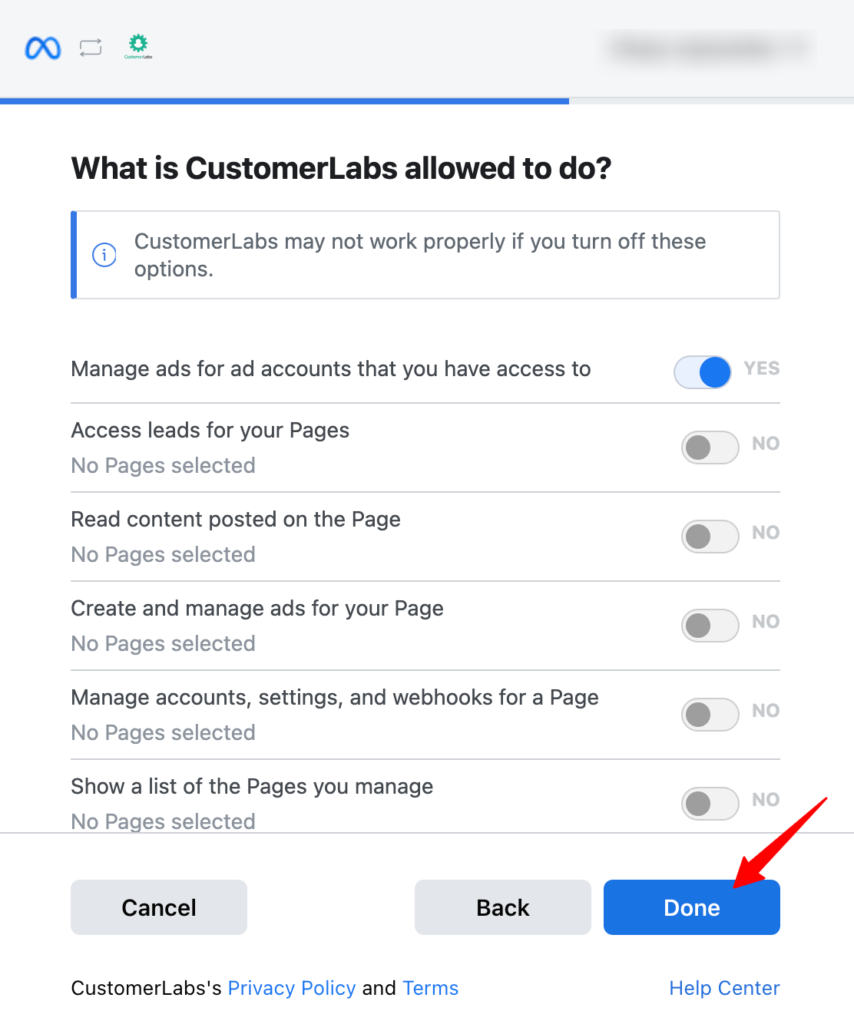
- You will now be redirected to your CustomerLabs CDP account to verify the list of Facebook pages that you’ve selected. On clicking the page you will be prompted to confirm details which will take you to the next step where you will have to select the CustomerLabs CDP account that you want this Facebook data to be sent to. (In case you have multiple CustomerLabs CDP accounts, select one & click confirm)
- Voila! Your no-code CustomerLabs CDP + Facebook integration is now complete. You will now be able to receive customer data from Facebook.
Workflows in CustomerLabs CDP
Setting up a workflow in CustomerLabs CDP will allow you to receive notifications about changes that happen to your Facebook data in real-time.
For example, you can set up a workflow that will trigger a notification to be pushed to the CustomerLabs CDP specified every time a user submits a lead form on Facebook.
Creating workflows help in filtering incoming data to suit business needs and map them to existing customer data in CustomerLabs CDP, thus achieving a unified customer view without writing any code.
Building a Workflow to receive incoming lead data from Facebook
1. Give a name to your workflow. Before proceeding to the next step, create a sample test lead in Facebook to receive incoming data.
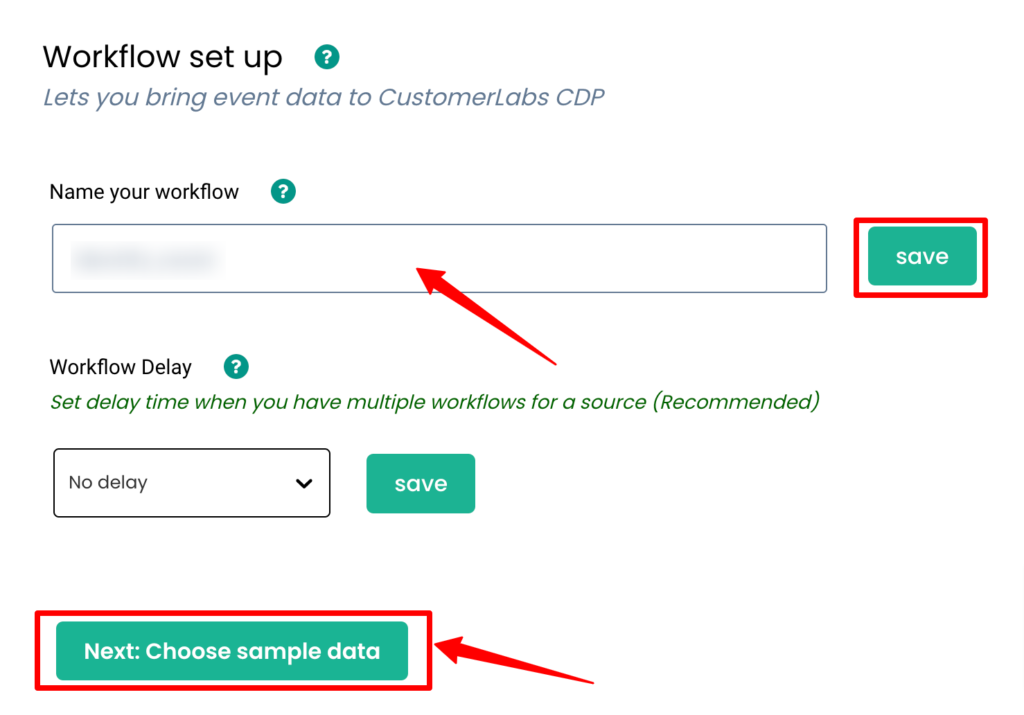
2. Click on Choose sample data to receive data samples
If you experience any delays, please wait for a few minutes before trying again.
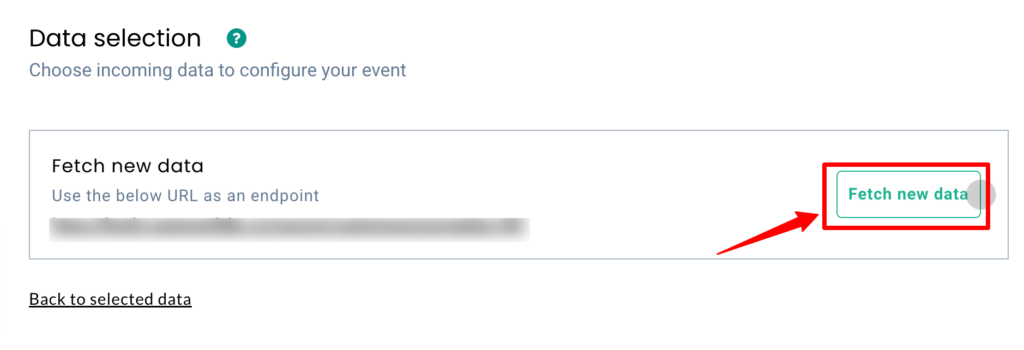
3. Choose the sample data by clicking on Fetch new data
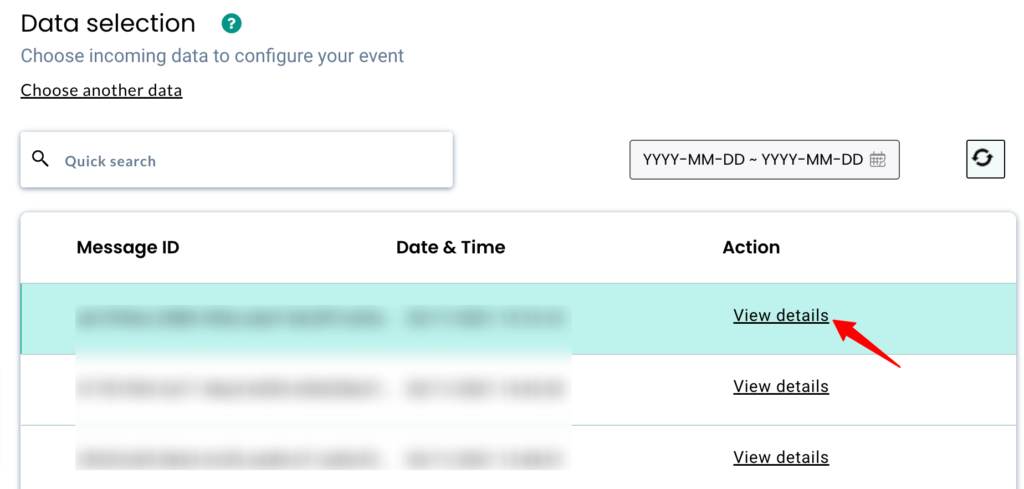
4. Click on View details to view the incoming data and choose the relevant sample.
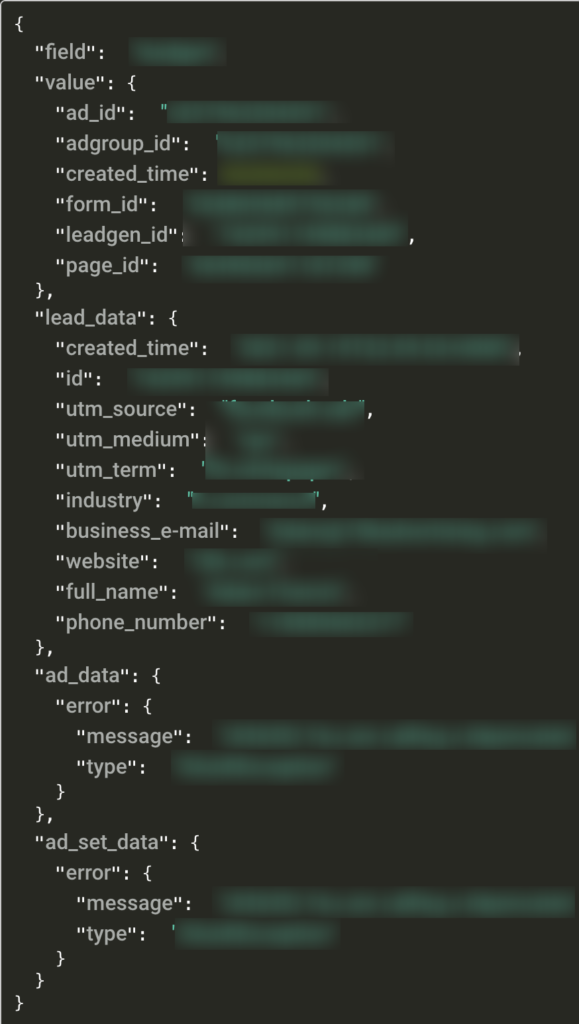
5. The incoming sample data (user and ad details) will be in this format as shown below.
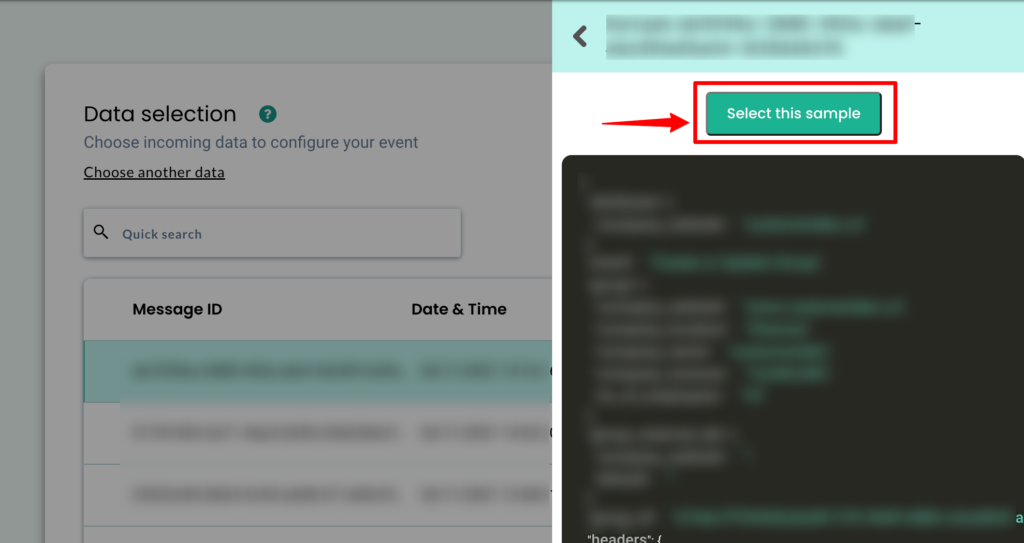
6. Choose the sample which suits best by clicking on Select this sample & proceed to the next screen
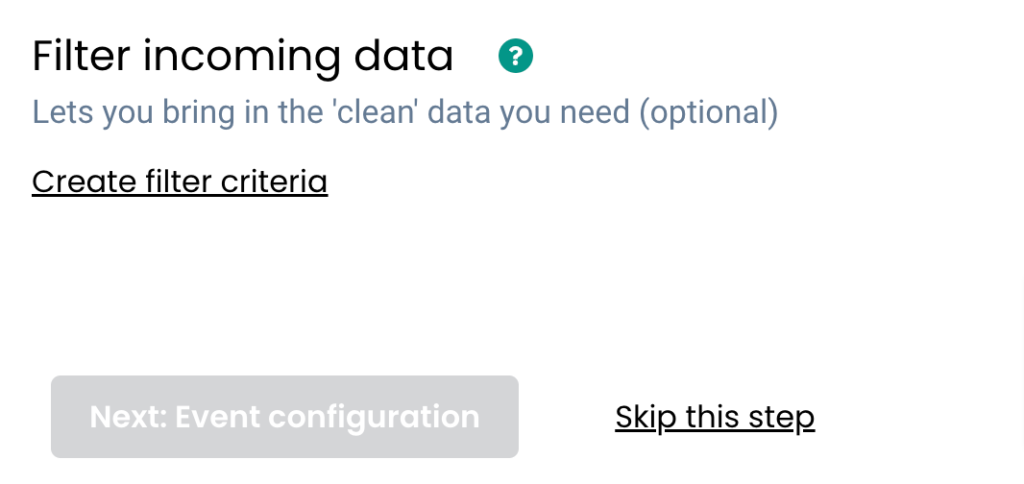
7. Filter incoming data – this step helps in filtering out irrelevant data and allows only the information you need, to enter the workflow in the future. This is an optional step in the workflow.
8. The Event configuration is the final step in the workflow creation process. You can view more details about the various steps in the event configuration screen here.
9. Choose the event name from the drop-down. For example, you can choose the field as custom event and give a name to configure the workflow based on your incoming data.

10. User Identity mapping: CustomerLabs CDP supports a wide range of user identifiers. For example, you can select the email id as the unique user identifier. In this case, you choose identify_by_email as the field to map the incoming email id from Facebook.
CustomerLabs CDP will now automatically unify incoming information with existing user data across your martech stack.
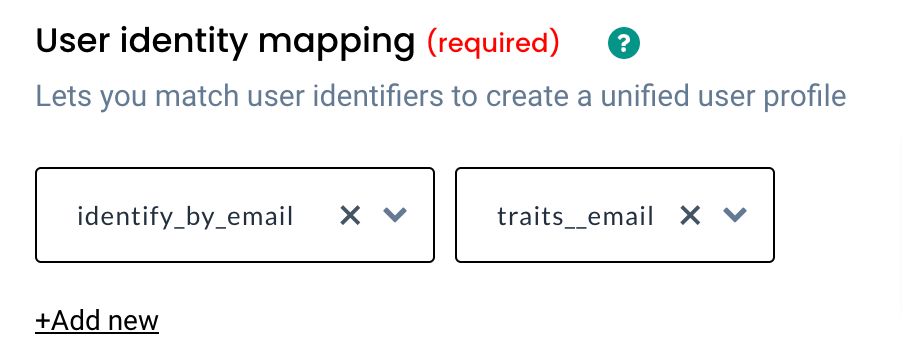
11. Select the value (email ID) from the drop-down
Note: You can add up to 3 unique user identifiers.
12. Post user identity mapping, you can categorically map other incoming attributes under two major fields – User traits and User External IDs
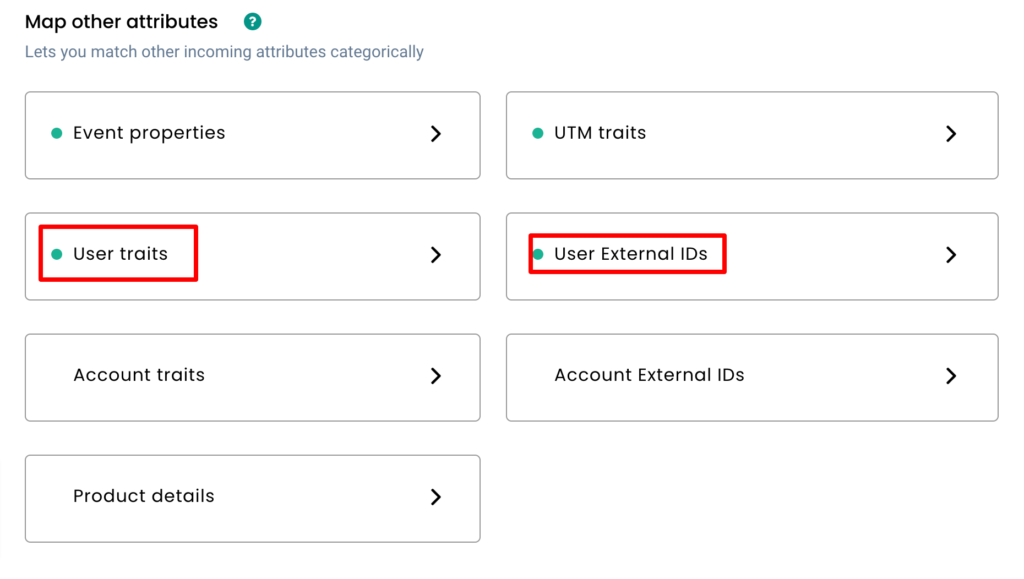
13. Incoming user information from the ad such as first name, last name, ad set, ad campaign, city, state, company, zip code & other similar information can be added under User traits.
14. Unique Facebook user IDs such as “lead_id” can be added under User External IDs.
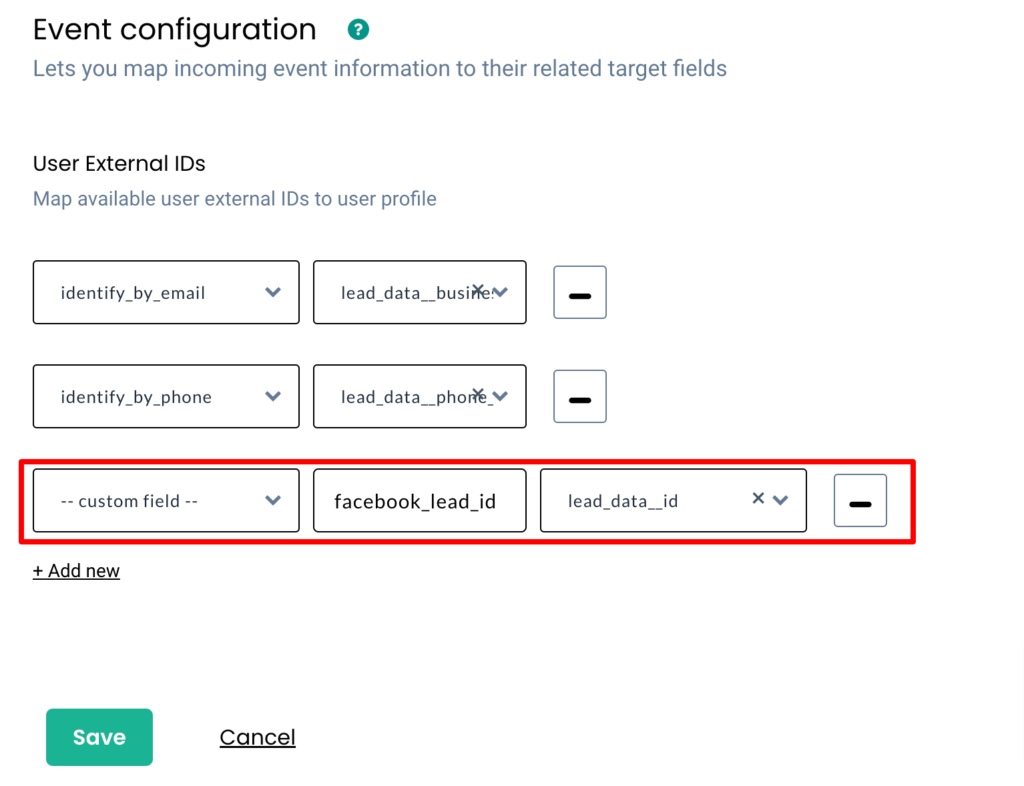
Note: These external IDs will be appended to user 360° user profiles and will be used to accurately target the exact user when synced back to Facebook, considerably increasing audience match rates.
Destination
Send incoming data to third-party apps to boost marketing effectiveness. Learn more about the destination tools that we support here.
Need assistance?
Have questions or facing issues? We can help set it up for free.


