Customerlabs CDP Documentation
Source – Google Ads
The CustomerLabs CDP + Google Ads integration helps marketers bring data from lead ads running on Google Ads, unify them with existing customer information across the martech stack to create 360° customer profiles and sync that data to ad platforms.
Getting started
1. Login to the Customerlabs account.
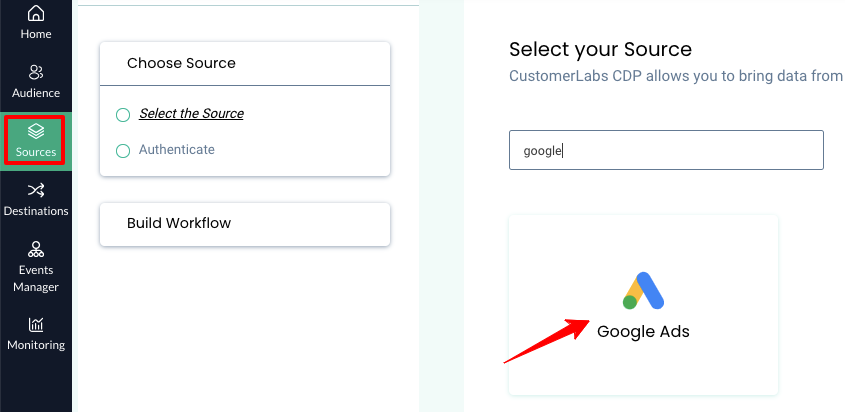
2. Navigate to the Sources page and select Google Ads from the list of Sources.
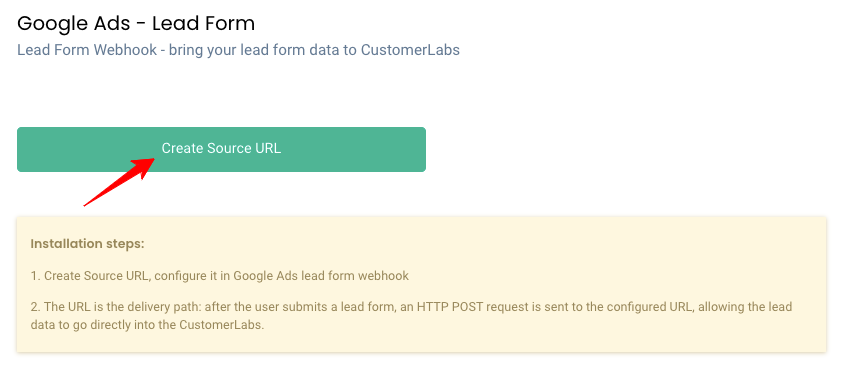
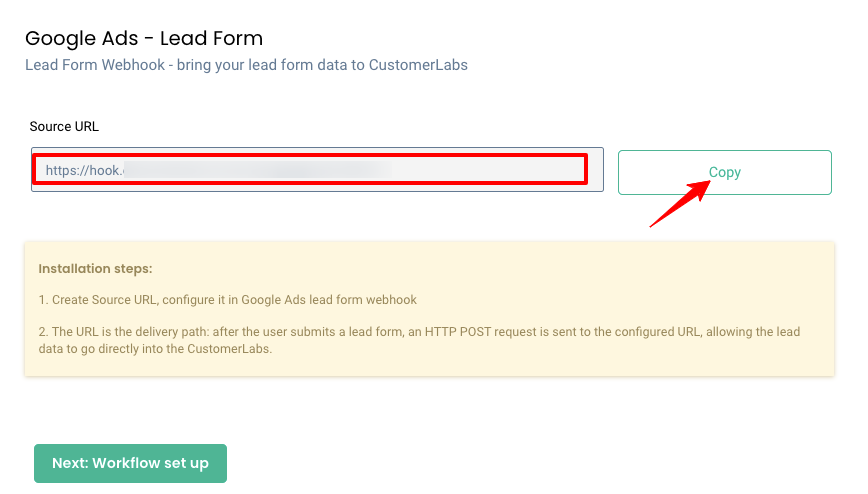
3. Click on Create Source URL and copy it, you will need it in a later step.
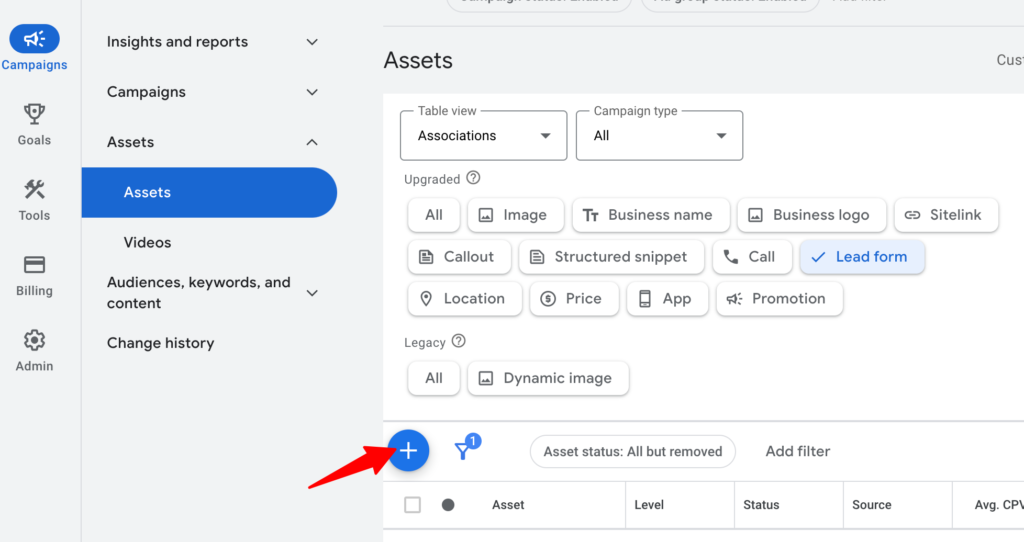
4. Log in to your Google Ad account, click on Ads & Assets > Assets > Lead form > Click on + icon
Refer to this document to learn more about lead forms in Google Ads.
5. Click to expand Export leads from Google Ads, then click to expand Other data integration options.
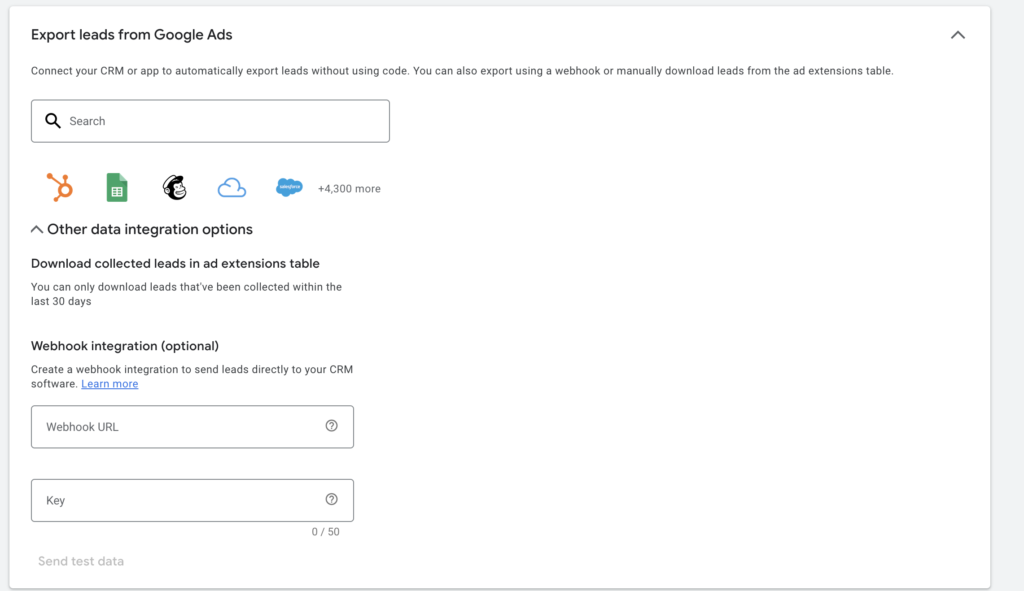
6. Under Webhook integration, paste the Source URL copied from the Customerlabs in the ‘Webhook URL’ box and give a key name.
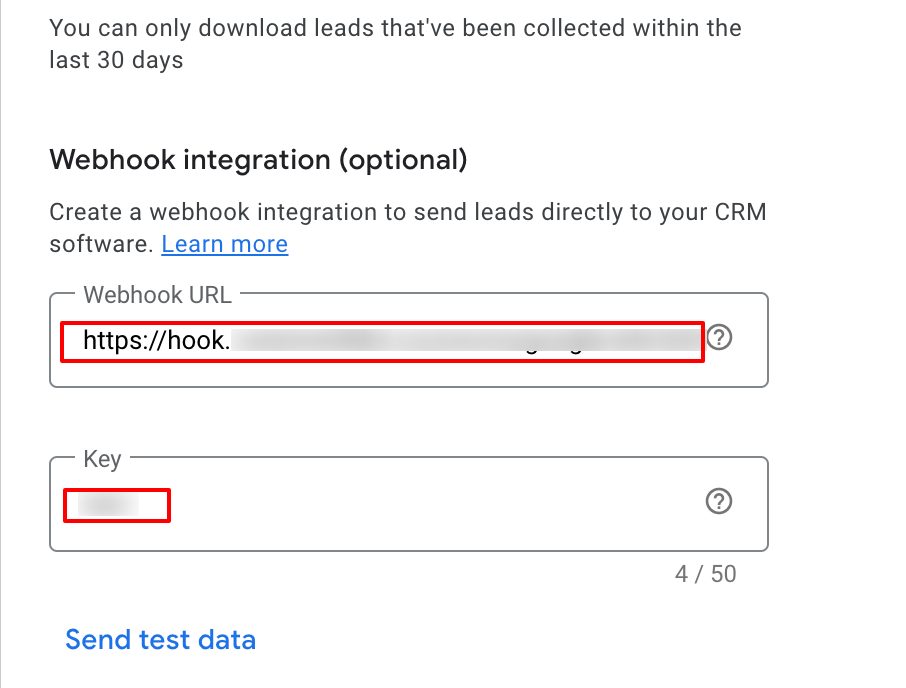
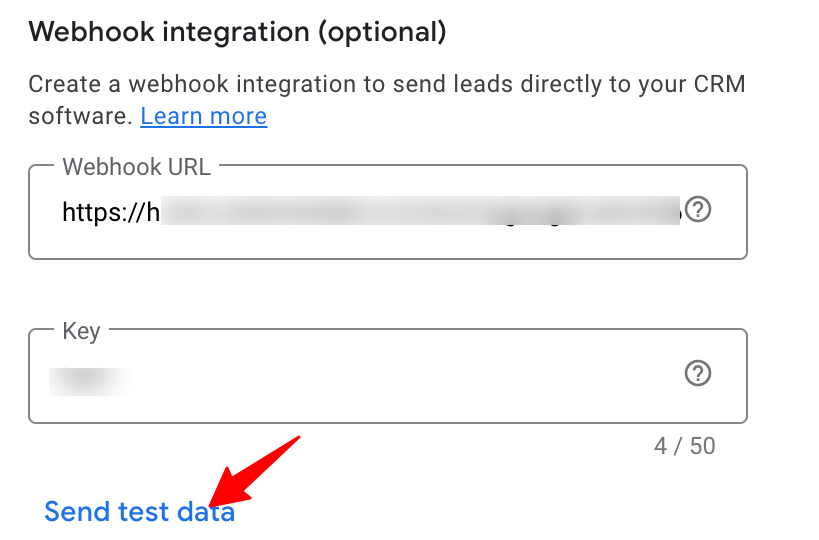
7. Click on “Send test data” to ensure data is pushing to Customerlabs as expected.
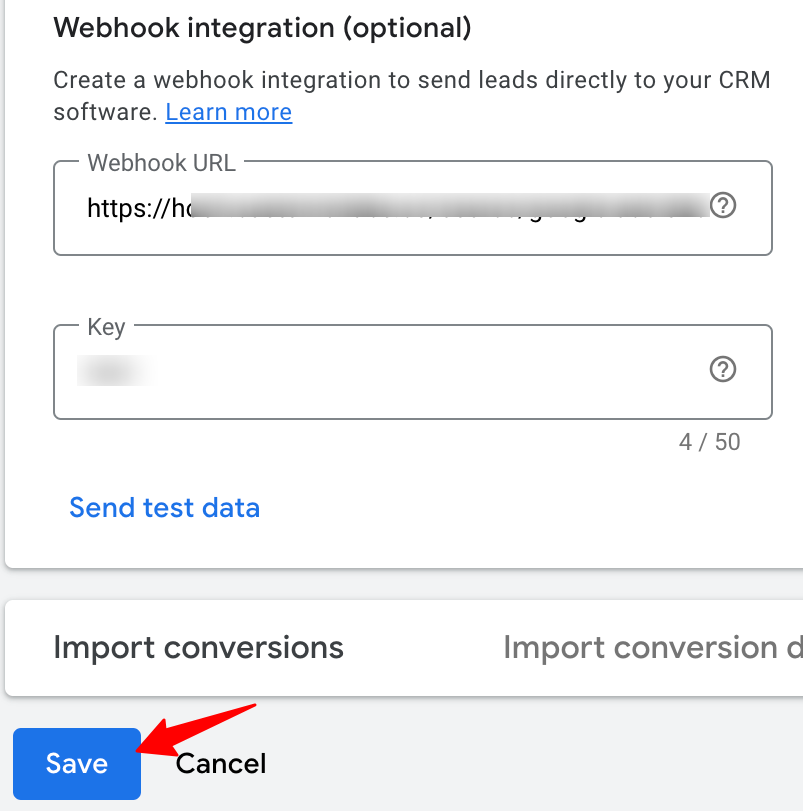
8. Click on Save to save the configuration.
9. Now go back to the Customerlabs account to complete the configuration.
Building a Workflow to receive incoming lead data from Google Ads
Workflow helps you to turn the raw data you receive from the source into specific event data based on the workflow configuration which includes filtering and modifying the parameters. You can create multiple workflows inside a Source. A workflow is a one-time setup that constantly receives customer data & updates user profiles in CustomerLabs CDP in real time.
Here are the steps to setup a workflow for Google Ads:
1. Give a name to your workflow for example Google_Ads_leads.
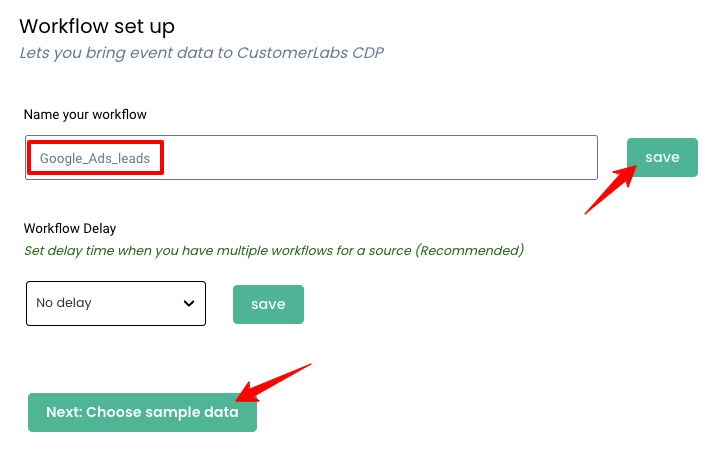
2. If you have already sent the test data from Google Ads, click on Choose sample data to receive data samples
3. Choose the sample data by clicking on Fetch new data.

4. Click on View details to view the incoming data and choose the relevant sample.
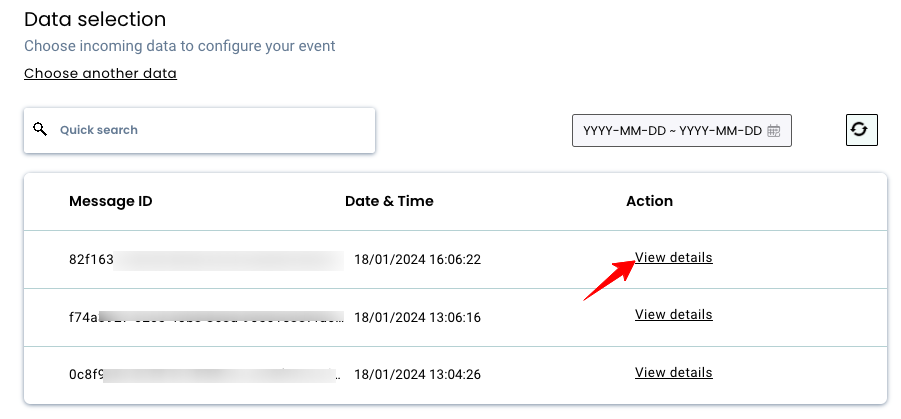
5. The incoming sample data (user and ad details) will be in this format as shown below.
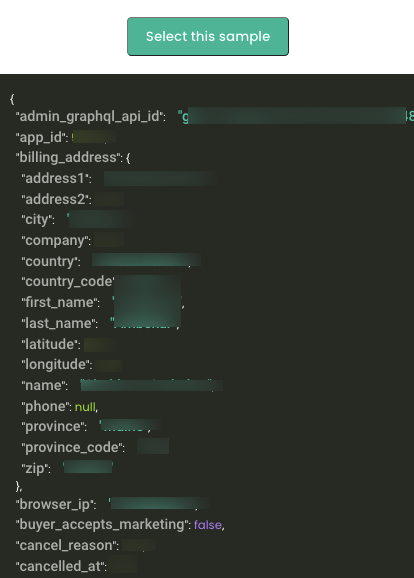
6. Choose the sample that suits your use case by clicking on Select this sample.
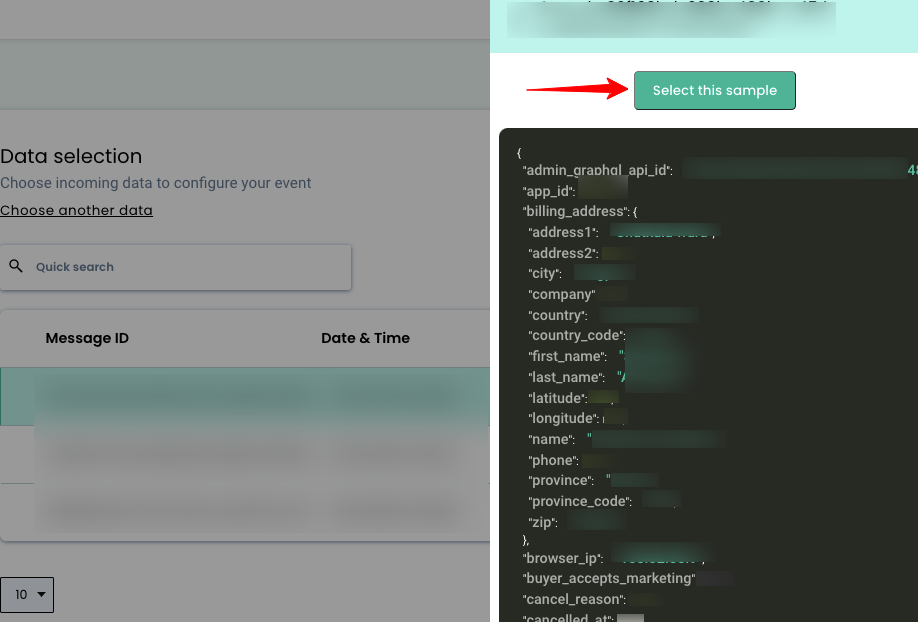
Note: While selecting the sample, ensure the data contains no parameters with null values as given in the image
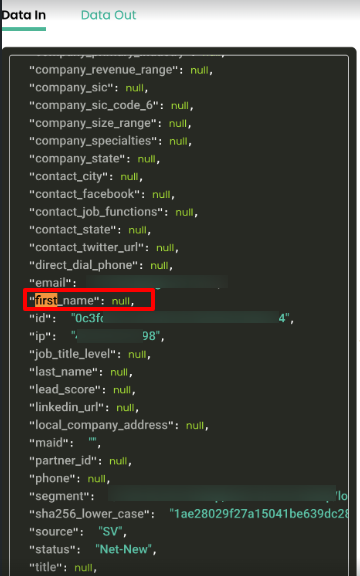
The Customer Labs will not process parameters with null values. This is because null values are not considered valid data by the system. For example, if the parameter is “first_name”, you could pass the value “John Doe” or the empty string” “.
7. Filter incoming data – this step helps in filtering out irrelevant data and allows only the information you need, to enter the workflow in the future. This is an optional step in the workflow.
Refer this documentation for more details on filtering
8. The Event configuration is the final step in the workflow creation process. You can view more details about the various steps in the event configuration screen here
9. Choose the event name from the drop-down. Or you can choose the field as a custom event and give a name to configure the workflow based on your incoming data.
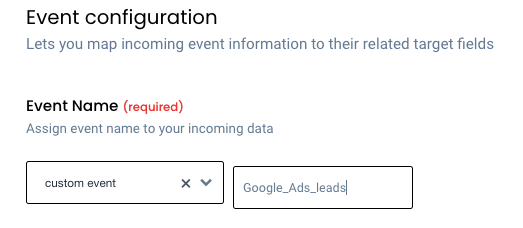
10. User Identity mapping: CustomerLabs CDP supports a wide range of user identifiers. For example, you can select the email id as the unique user identifier. In this case, you choose identify_by_email as the field to map the incoming email ID from Google.
CustomerLabs CDP will now automatically unify incoming information based on this identifier with existing user data across your martech stack.
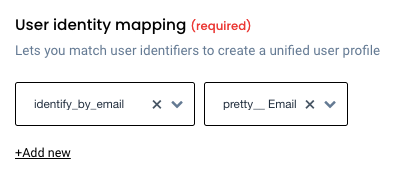
Note: You can add up to 3 unique user identifiers.
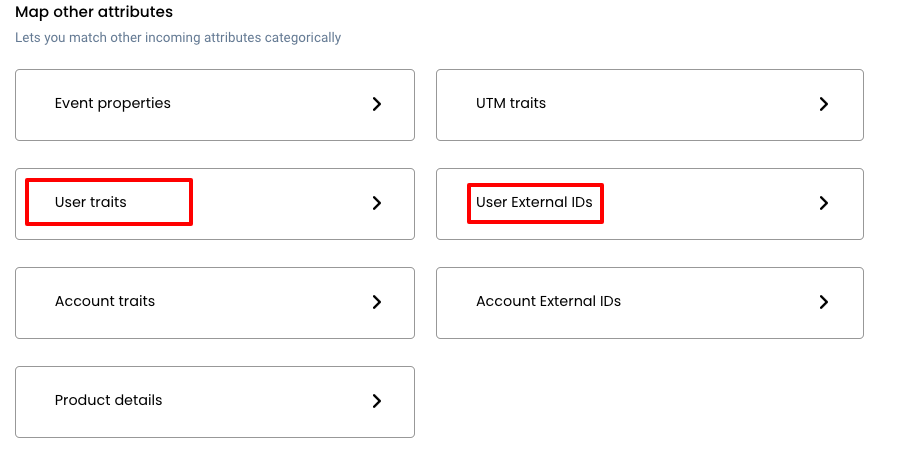
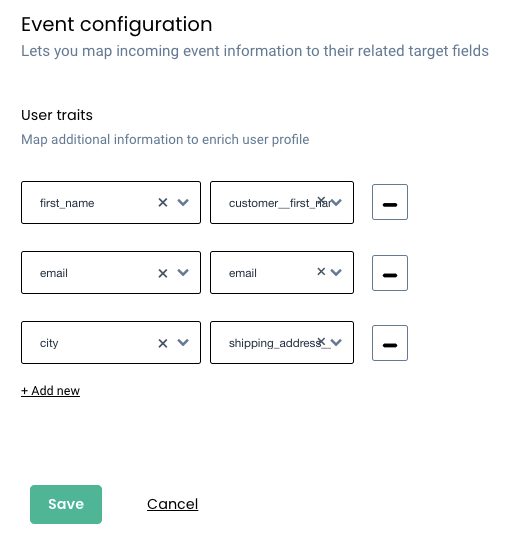
11. Post user identity mapping, you can categorically map other incoming attributes under two major fields – User traits and User External IDs
User traits
User traits refer to specific characteristics or attributes associated with an individual user. The user traits include first name, last name, city, state, company, zip code & other similar information that can be added under User traits.
To send users’ details to the ads platforms, you must map them as user traits under event configuration.
User External IDs
Unique Google Ads user IDs such as “lead_id” can be added under User External IDs.
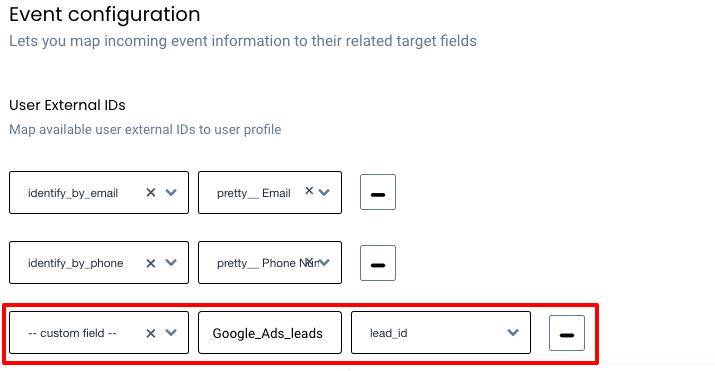
Note: These external IDs will be appended to user 360° user-profiles and will be used to accurately target the exact user when synced back to Google Ads, considerably increasing audience match rates.
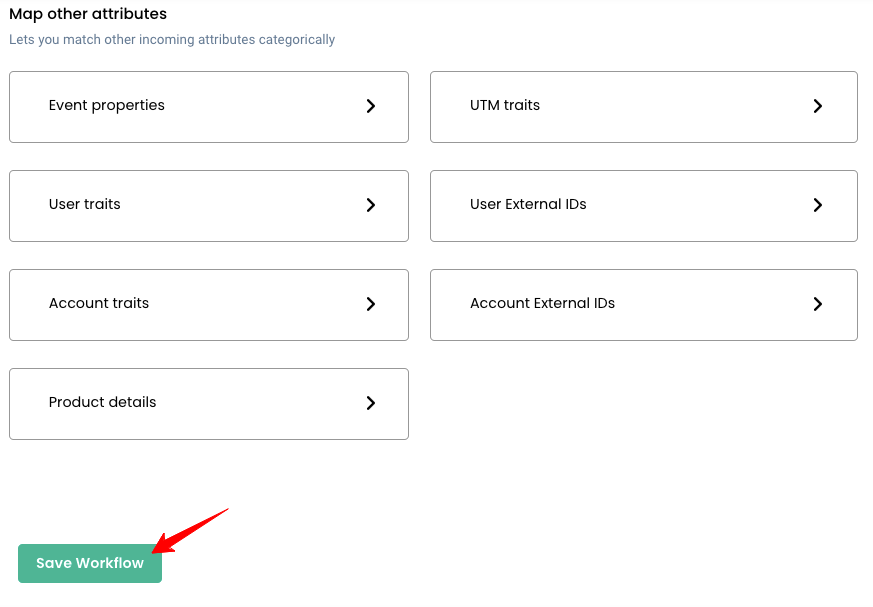
12. Click on Save Workflow to save the workflow configuration.
13. Verify if the workflow is active by navigating to the Sources > Click on Google Ads > Check the ‘Workflow Status’ column

You will start receiving the lead details from Google Ads and you can check the same in the “Logs” as well as in the Events Manager screen.


