Customerlabs CDP Documentation
Typeform is an online form builder tool that allows you to construct forms or survey online without any coding and record users’ responses.
The CustomerLabs + Typeform helps marketers bring customers data from Typeform, unify them with existing customer information across the martech stack to create 360° customer profiles and sync that data to any destination platform to trigger relevant workflows without having to depend on their developers.
Follow the steps to connect Typeform with CustomerLabs:
1. Login to CustomerLabs CDP and navigate to Sources.
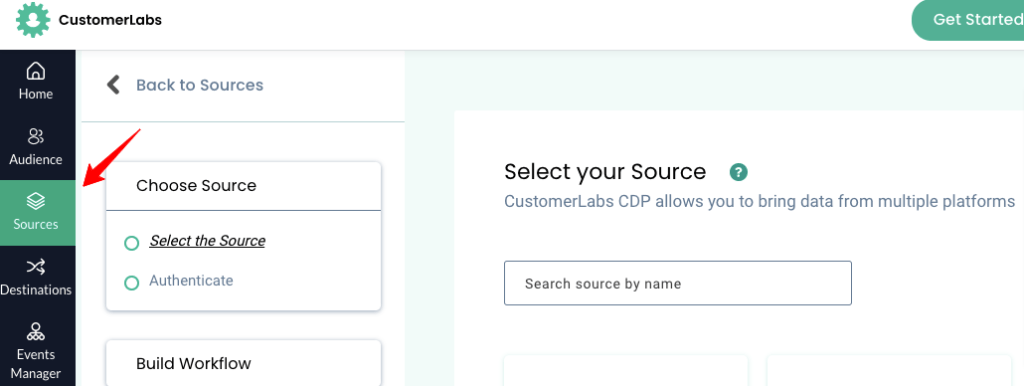
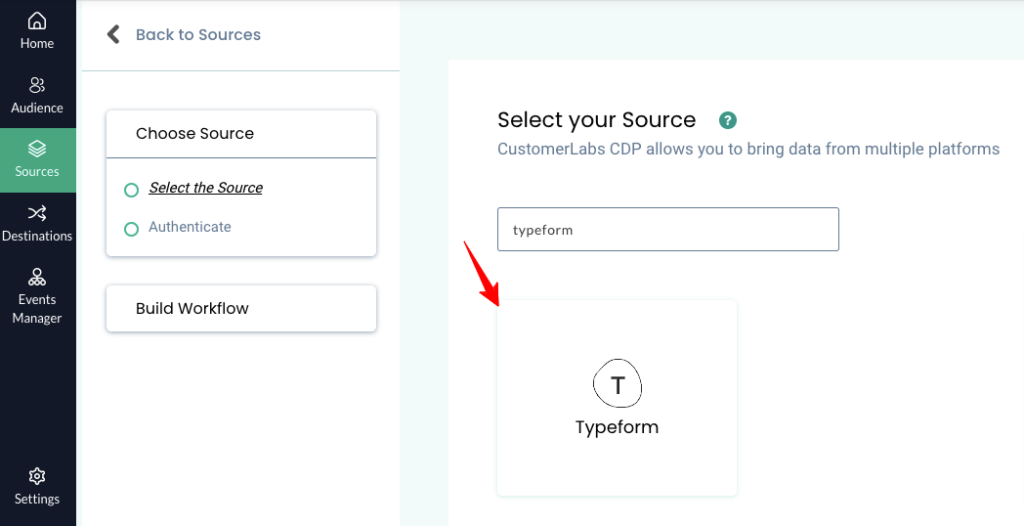
2. Search and select Typeform from the list of available Sources.
3. Click on “Create source URL” to configure in Typeform Webhooks.

4. Change the custom source name if required and copy the Workflow URL.

5. Now login to the Typeform and under My workspace, go to “Connect”.

6. Under Wehbooks tab and click on “Add a Webhook”.

7. Paste the URL that you have received from CustomerLabs and click on “Save webhook”.

You have now connected Typeform with CustomerLabs. You will start receiving the raw data.
Building Workflows in CustomerLabs CDP
Setting up a workflow in CustomerLabs CDP will allow you to configure and bring in clean data in accordance with your needs.
A sample workflow explained below can be used to bring users’ data to CustomerLabs when they submit a new form/survey.
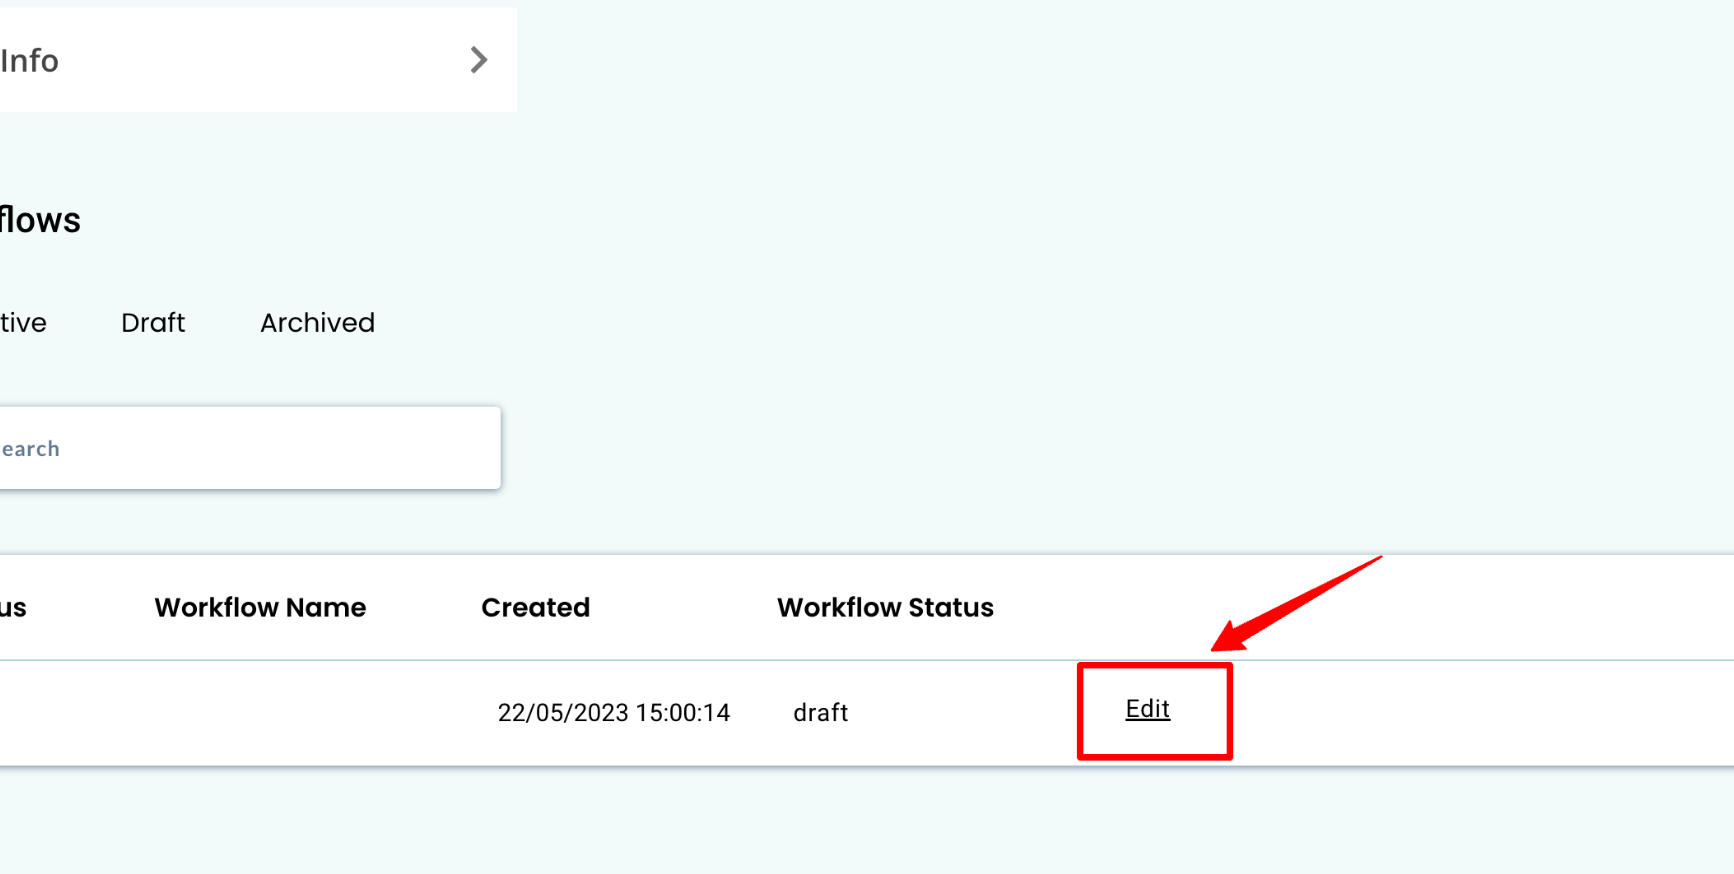
1. Go to the CustomerLabs account → Navigate to the Sources page → Under the Typeform source you created, edit the draft workflow.
2. Give a name for the workflow and enter workflow delay (if required) → Save.
Then click on “Next: Choose sample data”. Before proceeding submit one test Jotform to get sample data in the CustomerLabs.

3. Click on “Fetch new data”.

4. You can view the incoming data samples in CustomerLabs CDP.
5. Select any one sample that suits your requirements & click on view details to see more information.

6. Click on “Select this sample” & hit “Filter incoming data”.

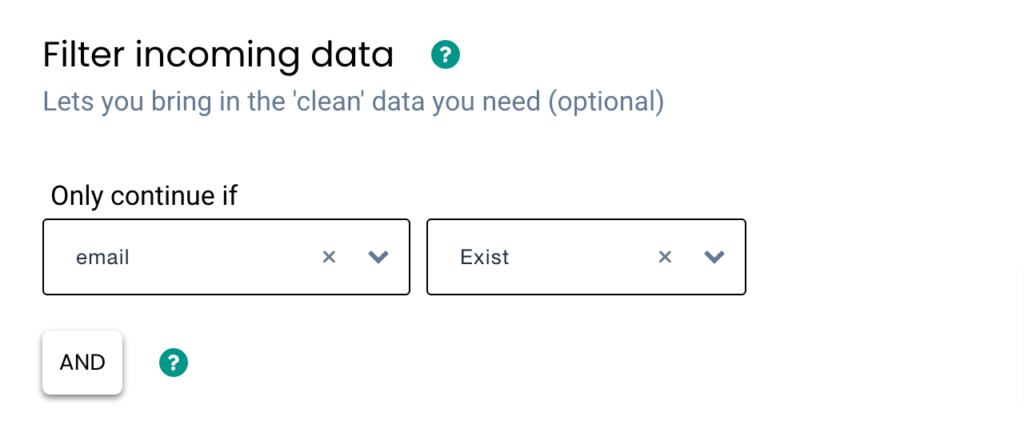
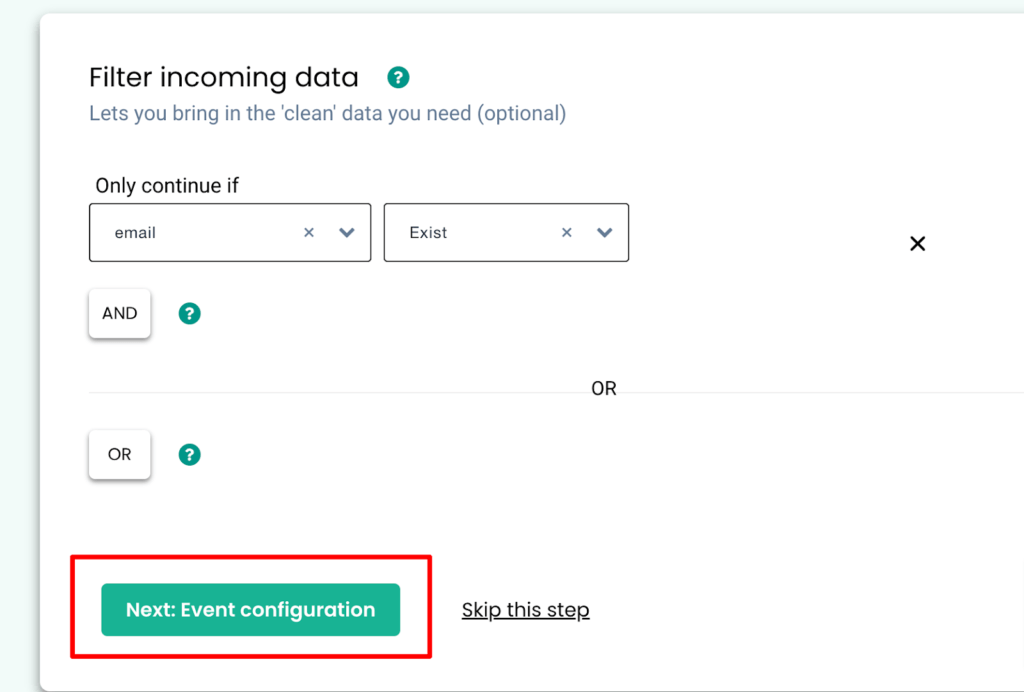
7. Click on “Create filter criteria” to give your filter condition. In this example let’s bring in form details that have email ids.

8. Choose the field from the drop-down list as email and give the condition as exist.
9. Now go to Event configuration step. Here’s a detailed breakdown of how events can be configured.
10. Here, you can give a custom name for the event or select from a list of predefined events as shown below.

11. User Identity mapping lets you identify & combine all user-related data. Since an incoming form may have an email id or phone number, it can be used to identify users (identify_by_email) or (identify_by_phone) and combine all present and future information from Typeform.
12. Choose the value for the email or phone field using the drop-down which shows data from the selected sample.

13. Once the user mapping is done, you can categorically map other incoming information into the different buckets as shown in the image below.
For example, map the user traits to enrich the user profile → Click Save

14. After mapping other attributes, click on “Save Workflow”. You will receive the form data in this workflow.
You can check the logs for details regarding the incoming data.


