Customerlabs CDP Documentation
-
Getting Started
-
Core Concepts
-
Website Event Tracking
-
- Shopify+CustomerLabs CDP Integration Guide
- E-commerce Platform Integration
- WooCommerce + CustomerLabs Integration Guide
- BigCommerce + CustomerLabs Integration Guide
- Custom conversion or synthetic events for Shopify and WooCommerce
- Hubspot + CustomerLabs integration
- Go High Level+ CustomerLabs Integration Tracking
- Typeform + CustomerLabs Integration Tracking
- Formstack + CustomerLabs Integration Tracking
- Swipe Pages + CustomerLabs Integration Tracking
- Calendly + CustomerLabs Integration
- Clickfunnels + CustomerLabs Integration
- Funnelish + CustomerLabs Integration Tracking
- Show all articles ( 3 ) Collapse Articles
-
-
-
Destinations
- CustomerLabs + Google Analytics (GA4) Integration
- CustomerLabs + Google Adwords Integration
- Customerlabs + Facebook Offline Conversion Integration
- CustomerLabs + Meta CRM Pixel Integration
- CustomerLabs + Intercom Integration
- CustomerLabs + iiintent.io Integration
- CustomerLabs + LinkedIn Integration
- CustomerLabs + Zapier Integration
- CustomerLabs + Drip Integration
- CustomerLabs + Segment Integration
- CustomerLabs + Google Sheets Integration
- CustomerLabs + Gist (ConvertFox) Integration
- CustomerLabs + Webhooks Integration
- CustomerLabs + BigQuery Integration
- CustomerLabs + Mixpanel Integration
- CustomerLabs + Customer.io integration
- CustomerLabs + Sendinblue Integration
- CustomerLabs + Klaviyo Integration
- CustomerLabs + TikTok Integration (Beta)
- CustomerLabs + Audience Lab Integration
- CustomerLabs + Maropost Integration
- CustomerLabs + LimeChat Integration
- CustomerLabs + KickBox Integration
- CustomerLabs + Snapchat Integration
- Show all articles ( 14 ) Collapse Articles
-
Sources
- Introduction to CustomerLabs Sources
- Source - Freshsales
- Source - HubSpot
- Source - Drift
- Source - Intercom
- Source - Facebook
- Source – Salesforce
- Source - iiintent.io
- Custom Source
- Source - CSV Upload
- Source - Pipedrive
- Source - Jotform
- Source - Typeform
- Source - Google Ads
- Source – Vivenu
- Zoho CRM + CustomerLabs
- Show all articles ( 6 ) Collapse Articles
-
Segmentation
-
Monitoring
-
Privacy
-
Help
-
Change Log
-
Custom Branding
For 1P domain tracking, when you want to integrate your own Cloudflare account to handle the CDN, you have to create a new API token in your Cloudflare account and complete the setup
Generate a new API token in your Cloudflare account:
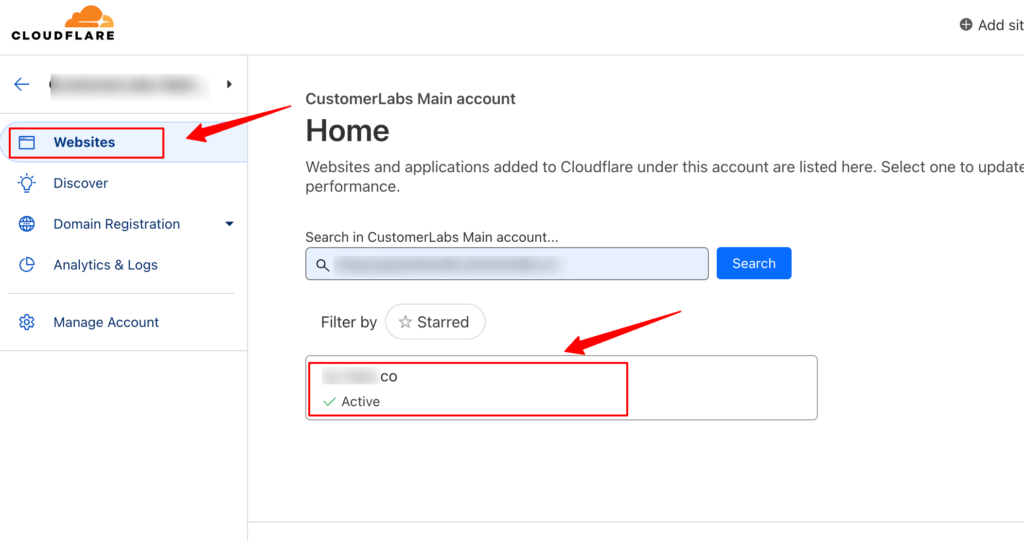
1. Login to your Cloudflare account
2. Go to Websites in the Side menu → Choose the site you want to link
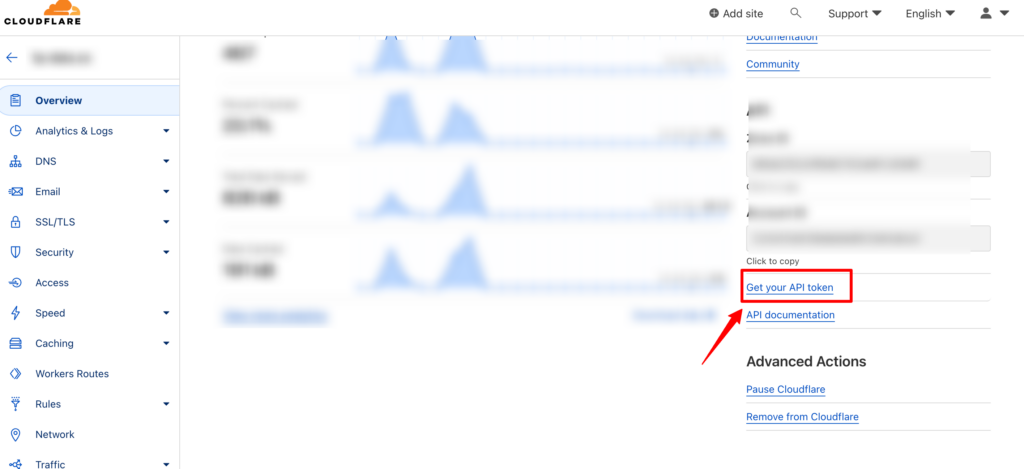
3. Click on Get your API token on right bottom side of the screen
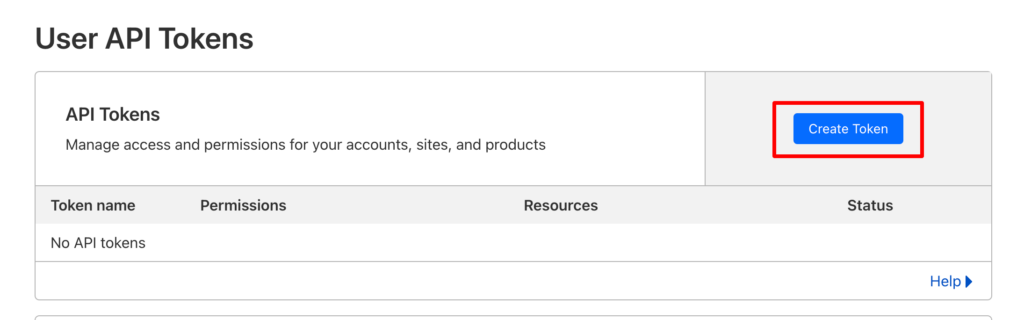
4. Click on “Create Token”
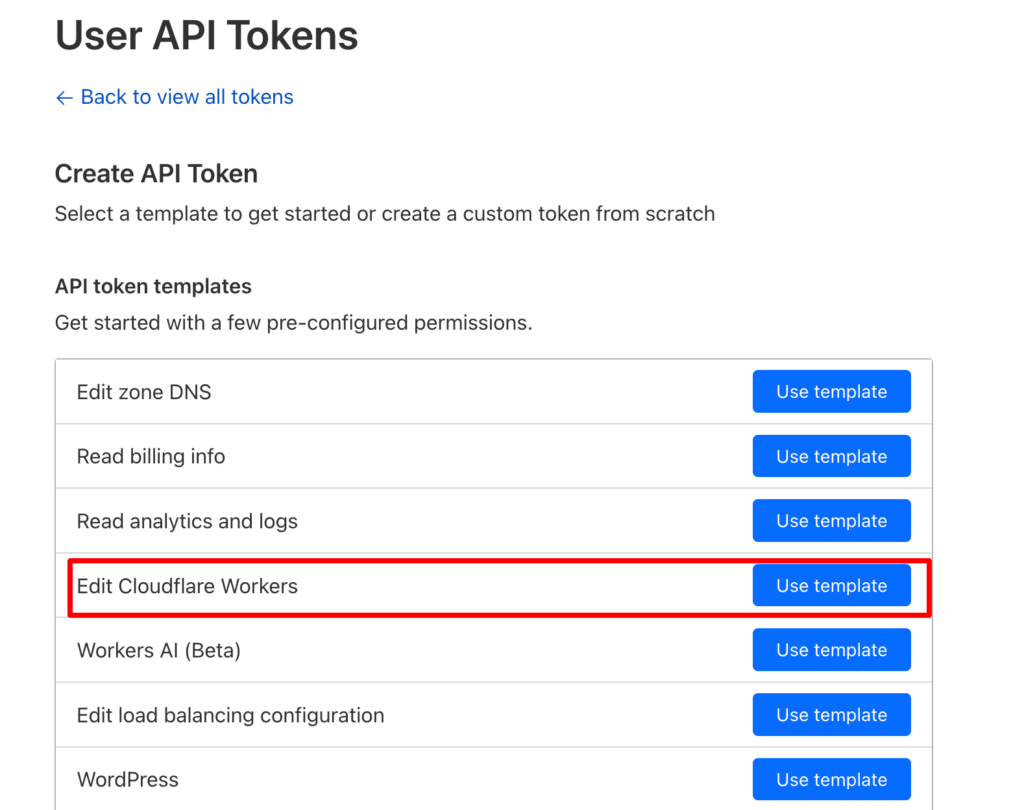
5. You would have a list of templates to create a token. Choose the template for “Edit Cloudflare Workers” by clicking on “Use template” against it
6. Click on “+ Add more” to add Zone permission
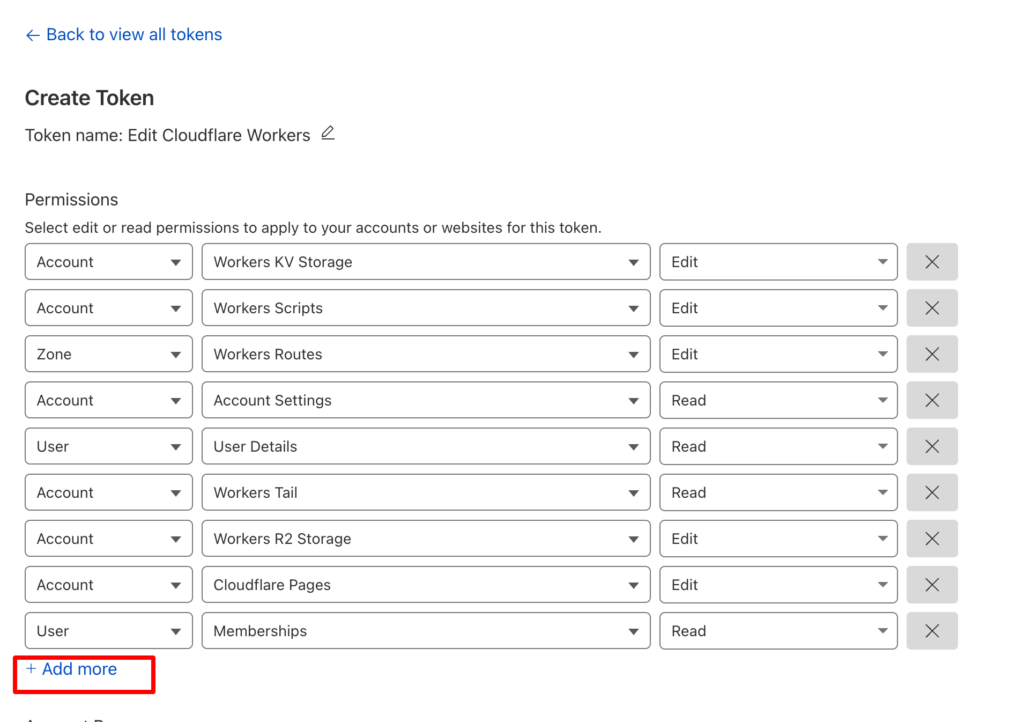
7. For Zone permission, give DNS and Edit permissions to create DNS record which will link worker with domain.

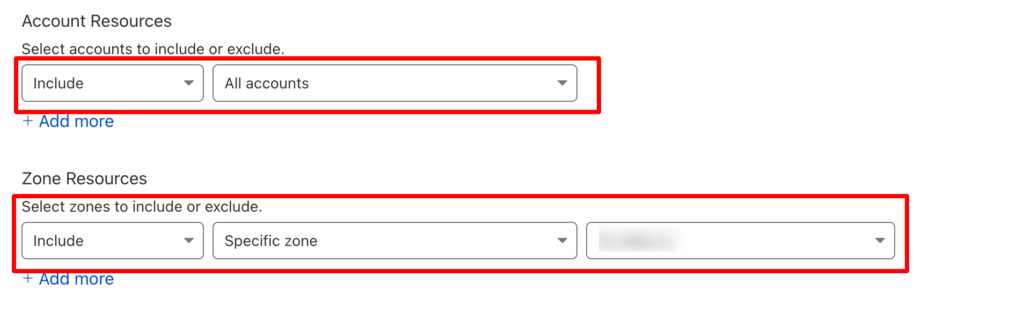
8. Under Account resources, “Include” the account you want to link
9. Under Zone resources, “Include”, “Specific Zone” and the domain you want to add.
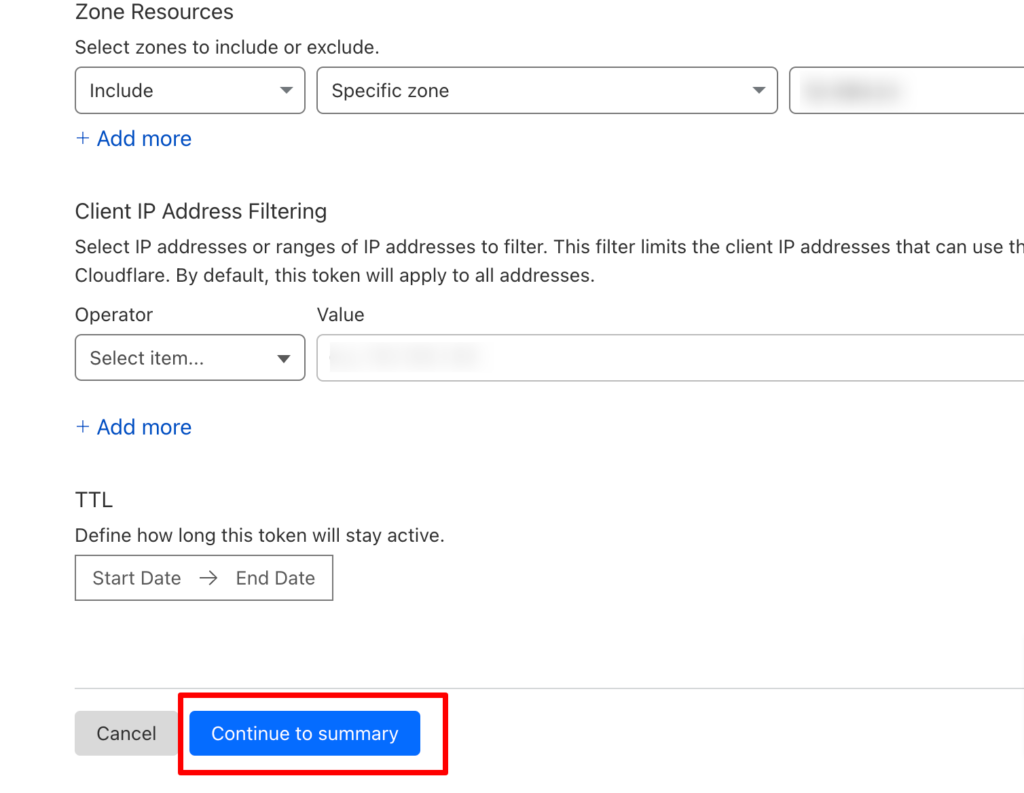
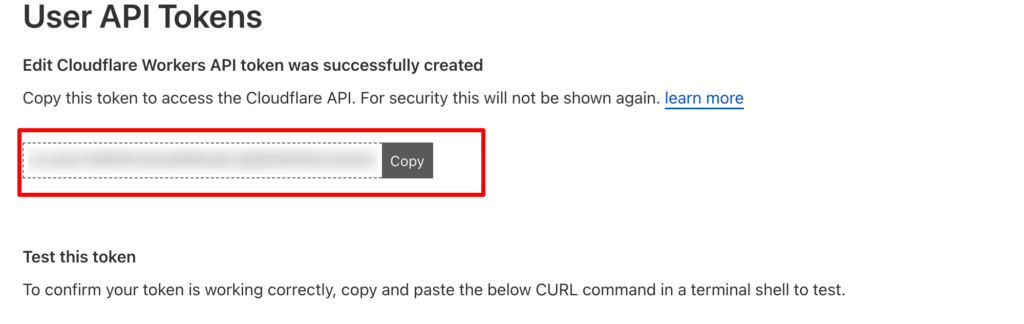
10. After updating the required permissions, click on “Continue to Summary” to generate the API token
11. Check the summary of permissions and click on “Create Token”
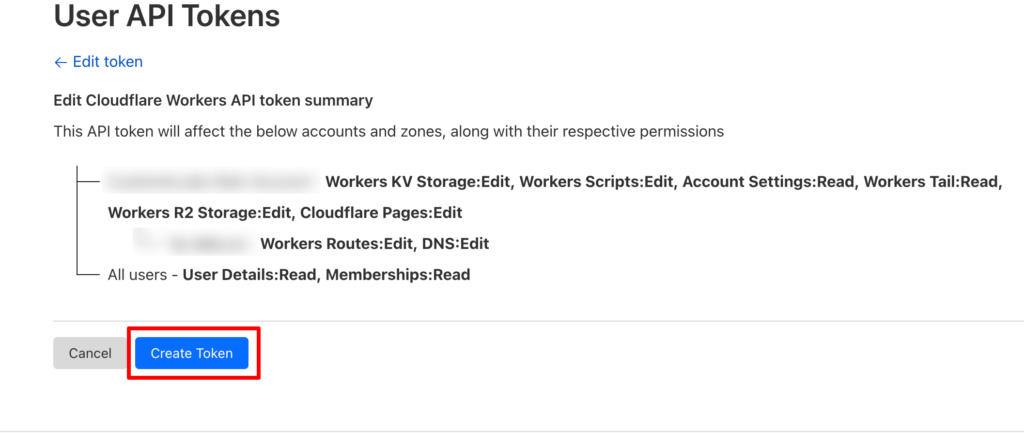
12. Copy the API token generated and paste it while setting up the 1P domain tracking with your own Cloudflare account.
0 out Of 5 Stars
| 5 Stars | 0% | |
| 4 Stars | 0% | |
| 3 Stars | 0% | |
| 2 Stars | 0% | |
| 1 Stars | 0% |


