Customerlabs CDP Documentation
Send Consent Signals to Facebook without Consent Banners
To get users’ consent for using their data for marketing, especially to comply with regulations like CCPA, you’ll need an explicit consent method if you don’t have a cookie banner. Here’s a simple way to do it.
Refer to the detailed documentation provided for step-by-step guidance on the Facebook CustomerLabs integration before proceeding with the LDU’s explicit consent mechanism.
By following these steps, you can configure Limited Data Usage settings in your website to comply with CCPA and other privacy regulations, even in cases where the cookie banner message is not available.
Step 1: Access CustomerLabs Integration Settings
Go to CustomerLabs → Destinations → Custom Integration
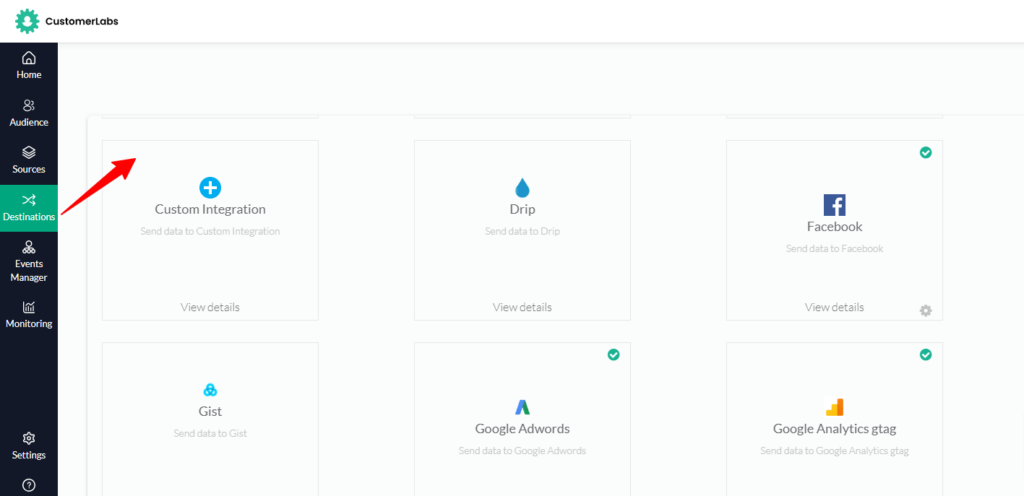
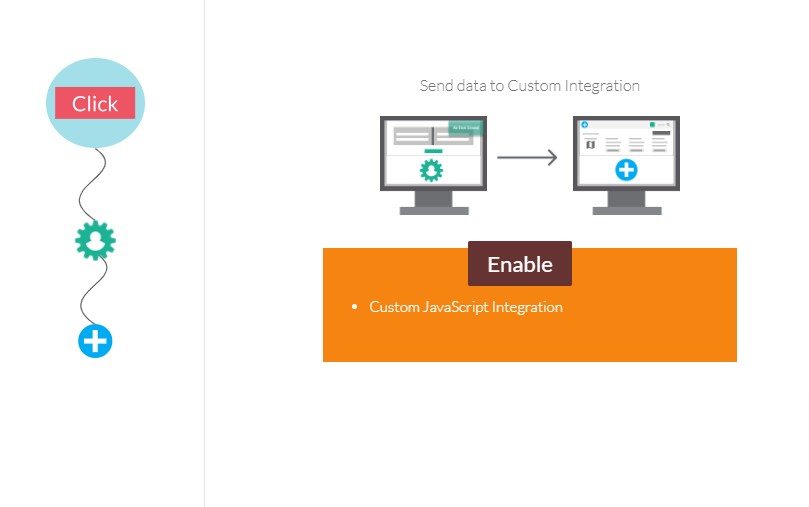
Step 2: Enable Custom Integration
Enable the javascript integration as given in the image below
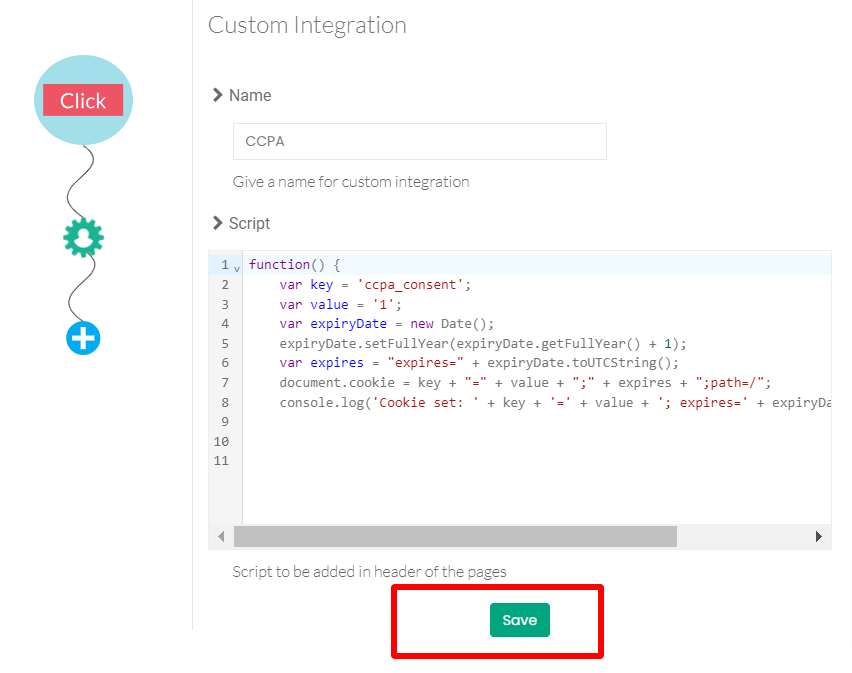
Step 3: Labels And Insert Custom Integration Code:
Name your custom integration code as “CCPA” and paste the provided code snippet into the designated text box, As given in the image below and the code is attached below for your reference,

Copy this code and paste in the script field
(function() {
    var key = 'ccpa_consent';
    var value = '1';
    var expiryDate = new Date();
    expiryDate.setFullYear(expiryDate.getFullYear() + 1);
    var expires = "expires=" + expiryDate.toUTCString();
    document.cookie = key + "=" + value + ";" + expires + ";path=/";
    console.log('Cookie set: ' + key + '=' + value + '; expires=' + expiryDate.toUTCString()); })()
This code snippet is typically used in web applications to store user consent preferences regarding data privacy laws like the CCPA. It ensures that the user’s consent choice (in this case, 1 indicating the user disagrees to use his/her data) is remembered across different pages of the website for a period of one year i.e. 365 days. But if the user deliberately clears the cookies, these cookies will be cleared.
Step 4: Save the Custom Integration Code
After pasting the code in the text box then save the custom integration configuration (CCPA). It ensures that the code runs on your website.
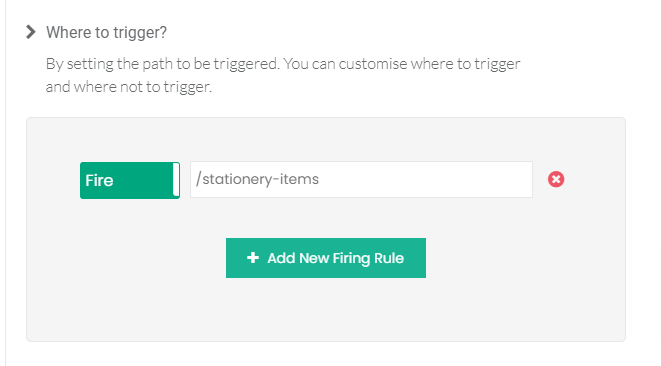
Step 5: Setup the trigger path
Here we will be setting up the trigger path where we will be listing the URLs where you want to deny consent access.

For Example:
https://example.com/privacypolicy
https://example.com/termsofuse
You can list your Website URL which you would like to trigger for the not to deny consent access, and with the help of add new firing rule you can add the multiple URL where you would like to deny consent access.
Step 6: To test the consent cookie on your website
To verify the cookies consent on your website here are the steps to be followed,
6.1 Load your website in a web browser.
6.2 Right-click and choose the inspect element option.
6.3 Navigate to the application section.
6.4 Select cookies from the left-side menu.
6.5 Select the page URL which you would like to deny the consent access.
6.6. Search for your cookie name,( In this example we have mentioned as (ccpa_ consent)

Step 7: Facebook & Customer Labs Integration:
Now, log into your CustomerLabs account → Destinations → Facebook and the reference is given below. Complete the integration.
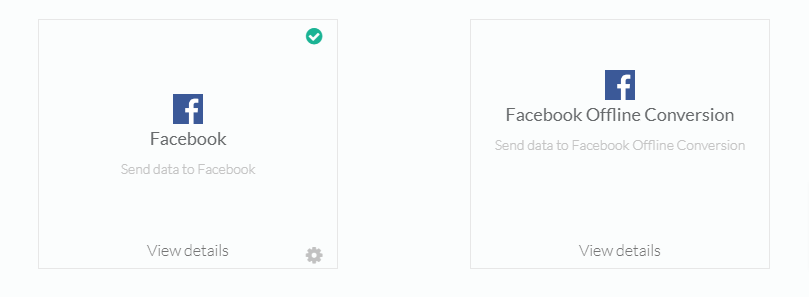
Step 8: Go to Configuration Settings:
Go to the Facebook configuration settings and toggle the limited data usage configuration as given in the image below
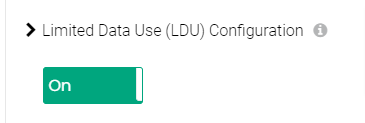
This will flag the users based on the consent collected on your website for the US states mentioned in the official Meta documentation and those states are listed below California,Colorado, Connecticut,Florida,Texas and Oregon and the Meta’s LDU documentation is attached below for your reference. Meta’s Documentation for reference.
Step 9:Specify Cookie Name and Value
There will be a input box in the LDU configuration settings where you need to specify the values of cookie name and its value as given in the image below
Cookie Name: Enter the name of the cookie that contains user consent information, for example we have mentioned as ccpa_consent
Cookie Value: Define the value that indicates user consent. This should be a boolean value as per your requirements:
For consent declined: Use 1,
For no consent: Use 0
Step 10: Install Meta Pixel Extension:
Then install the Meta Pixel Extension which helps you in validating your pixel implementation and effectively tracking user actions such as page views, purchases, and other engagement metrics, which are crucial for measuring the effectiveness of advertising campaigns.
Documents for reference: Meta Pixel Extension ; Meta Pixel Documentation
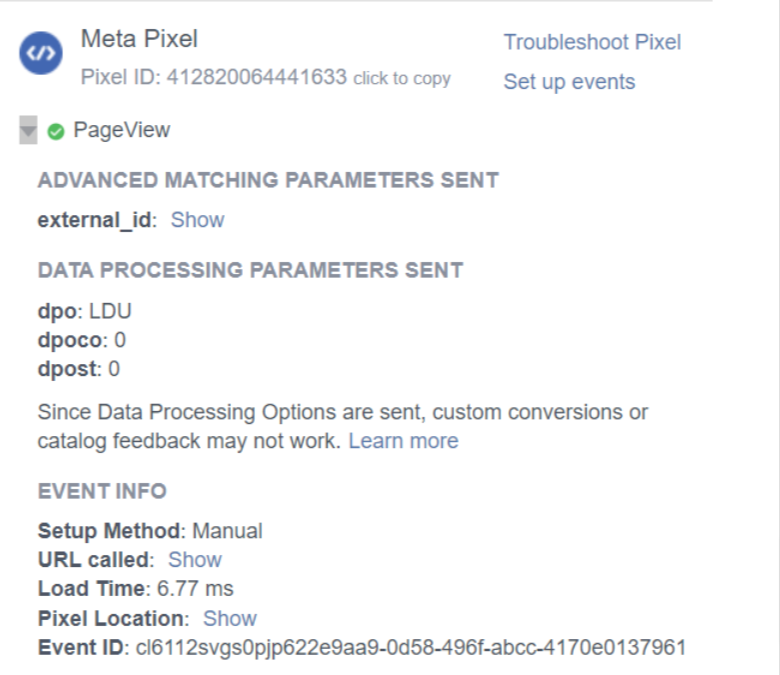
LDU flagged users will be synced through events and audiences. Facebook identifies the users with their respective states and applies LDU (if applicable) while processing the data from their side.
This configuration makes sure that CustomerLabs and Facebook respect user privacy regarding data use for marketing purposes. The specified cookie will store user consent information, allowing your website to flag users opting out of data usage and send appropriate signals to Facebook.
By following these steps, you can effectively configure Limited Data Use settings for Facebook through your CustomerLabs account, ensuring compliance with data privacy regulations and enhancing user trust and transparency.
You want to explore? Need a hand – happy to help, always!


